
Surviving the deserts of Arrakis means mastering both its environment and its factions. Among the most dangerous groups you’ll face are the Slavers—ruthless traders allied with House Harkonnen. Their camps hold critical value for advancing quests like the Test of Prowess, making them key targets for ambitious players.
This guide focuses on practical strategies for pinpointing these enemies efficiently. You’ll learn to recognize their settlements through unique markers, such as reinforced structures and Harkonnen banners. Understanding their role in faction politics also reveals why they’re prioritized in House Atreides missions.
Preparation is crucial. Slavers deploy advanced gear and guard their territories fiercely. We’ll break down the regions they frequent most, from rocky outcrops to hidden oases, and share tactics to avoid detection while scouting. Whether you’re new to the sands or refining your approach, these insights will sharpen your hunts.
Key Takeaways
- Slavers operate under House Harkonnen’s protection, complicating faction dynamics
- Locate camps using visual clues like industrial equipment and patrol routes
- Critical for progressing high-stakes quest chains and earning rare rewards
- Focus searches in southern desert zones and shadowed canyon networks
- Engage with stealth tactics to counter their superior numbers
Understanding Dune Awakening and Its Factions
In the shifting sands of Arrakis, alliances shape survival as much as skill. The game’s factions drive every conflict, reward, and story beat. Your choices here ripple through missions, resources, and even how enemy groups react to your presence.
Game World Mechanics and Mission Design
Quests in this survival MMO aren’t just checklists—they’re power plays. The Test of Prowess mission shows this perfectly. When Lieutenant Anton Tolliver at The Anvil tradepost asks you to eliminate 10 foes, you’re not just fighting. You’re weakening House Harkonnen’s grip on the region.
Slavers’ Strategic Importance
These mercenaries fuel Harkonnen operations through brutal trades. Targeting them does more than complete objectives—it shifts faction balance. Completing these quests unlocks better gear and unique story paths with House Atreides.
Every battle against these forces carries weight. Succeed, and you’ll gain trust from allies. Fail, and the desert becomes far less forgiving.
Key Strategies: where to find slavers dune awakening
Mastering Arrakis requires more than combat skills—it demands strategic navigation of its treacherous landscapes. Focus your efforts on the Jabal Eifrit region, where hostile forces cluster around vital resources. This area’s unique geography creates perfect hideouts for organized groups.
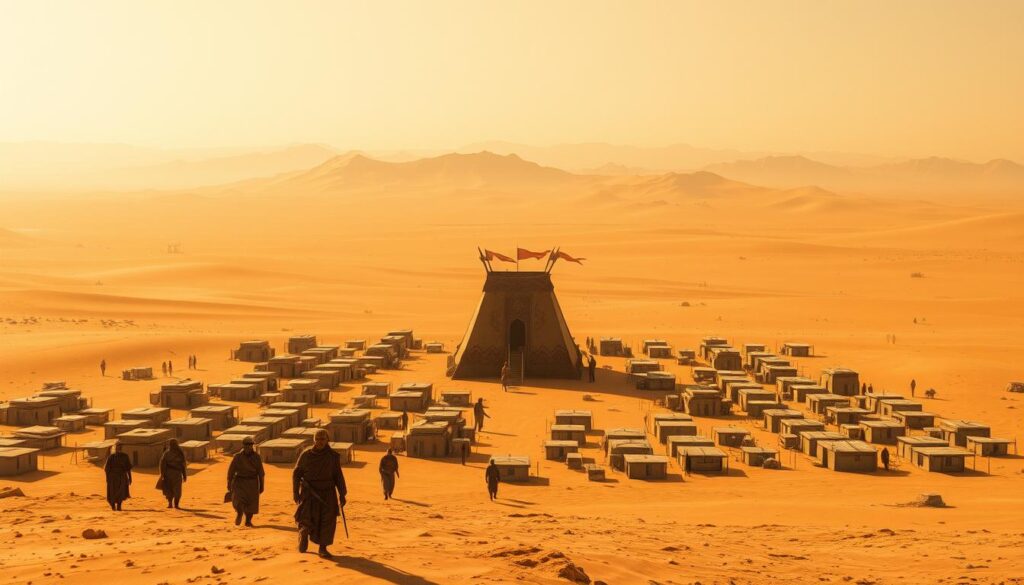
Identifying Slaver Camps and Flag Indicators
Look for triangular banners flying near makeshift shelters—these mark occupied territories. Camps often position these flags 50-100 meters from their central operations. Enemies wearing tinted goggles patrol these zones, making them easier to spot against sandy backdrops.
Intel Bases stand out with multiple watchtowers and storage crates. These hubs contain 3-5 times more combatants than smaller outposts. Prioritize them when tackling objectives requiring rapid eliminations.
Navigating Jabal Eifrit and Surrounding Areas
The Al-janub sector near Imperial Testing Station 76 offers dense enemy clusters. Create looping routes around its eastern ridges to maximize encounters. For beginners, the Runaway Station’s western camps provide manageable skirmishes with clear escape routes.
Al-gharb’s canyon networks require careful movement. Use rock formations for cover while scouting. Remember: higher ground reveals patrol patterns and hidden supply caches critical for sustained operations.
Tactical Guide to Engaging and Eliminating Slavers
Outsmarting Arrakis’ deadliest threats demands precision planning and adaptable tactics. These combatants use layered defenses and coordinated strikes, requiring fighters to rethink standard approaches. Let’s break down proven methods to turn their strengths into weaknesses.
Effective Combat Techniques and Equipment Selection
Your loadout makes or breaks these encounters. Prioritize modified rifles with thermal scopes – they pierce sandstorms and hit targets 200+ meters out. Pair this with lightweight body armor that doesn’t slow your repositioning.
Slavers cluster near fuel depots and comms towers. Use these structures against them – shoot explosive barrels to create diversions. Wait for patrols to separate before engaging. Three shots then relocate prevents counterattacks.
Approaching Group Encounters and Test of Prowess
When facing multiple foes, control the battlefield’s rhythm. Lure scouts using hacked surveillance drones, then eliminate responders individually. This “peel-back” method works perfectly for Test of Prowess objectives requiring sequential takedowns.
Remember: these encounters test endurance more than speed. Carry extra coolant packs for weapons and deploy portable shields when advancing. Successful hunters balance aggression with calculated retreats to reset unfavorable fights.
Conclusion
Conquering Arrakis’ challenges transforms players into masters of survival and strategy. The Test of Prowess quest chain exemplifies this growth, blending combat mastery with faction politics through its 10-target elimination phase. Completing these contracts does more than unlock gear—it builds trust with House Atreides and reshapes your journey’s trajectory.
This walkthrough prepares you for multi-layered missions, from missing spy recoveries to test cunning operations. Each successful hunt sharpens skills needed for advanced chains, where split-second decisions determine success. Remember: practice transforms basic tactics into second-nature reflexes.
Your progress through these challenges opens elite contracts few ever see. Whether tackling solo objectives or coordinated strikes, the techniques here create lasting advantages. Keep refining your approach—every skirmish teaches something new about Arrakis’ ever-shifting dangers.
Armed with these strategies, you’re ready to dominate high-stakes quests and claim rewards that reshape the desert’s balance of power. The sands test everyone—but now, you’re equipped to answer.