
Surviving Arrakis in Dune: Awakening demands more than combat skills or quick thinking. Your base becomes your lifeline against the planet’s brutal challenges. From sandstorms to rival factions, a well-designed shelter isn’t optional—it’s the key to thriving in this survival MMO.
This guide helps you create a fortress that withstands environmental threats and enemy raids. Learn to position structures strategically, manage resources efficiently, and adapt to Arrakis’ ever-changing dangers. Whether you’re new to the franchise or a survival-game expert, these insights will elevate your gameplay.
Discover why location matters when avoiding sandworm attacks. Explore design principles that balance defense with functionality. Unlock advanced techniques to outlast Coriolis storms and competing players. Your journey to becoming an Arrakis powerhouse starts here.
Key Takeaways
- Strategic placement shields your base from sandworms and storms
- Modular designs allow quick adaptation to new threats
- Resource management determines long-term survival success
- Defensive layers protect against both AI and player attacks
- Climate awareness prevents catastrophic environmental damage
Introduction to Base Building in Dune: Awakening
Constructing a fortress on Arrakis requires more than gathering materials. Your shelter serves as a multi-purpose stronghold against relentless threats. From crafting rare gear to hosting allies, strategic design determines whether you flourish or perish in this survival-focused game.
The Importance of a Safe Haven on Arrakis
Arrakis punishes the unprepared. Temperatures swing from blistering heat to freezing darkness within hours. A well-planned base regulates your environment while storing vital resources. It also provides safety during sandworm attacks or enemy raids.
Advanced crafting stations need stable infrastructure. Without proper facilities, creating vehicles or weapons becomes impossible. Your fortress evolves into a production center for essential survival tools.
Key Concepts and Survival Mechanics
Three pillars define successful base building: protection, utility, and adaptability. Layered defenses deter rival players, while modular layouts let you expand as needs change. Resource management systems prevent shortages during extended storms.
| Function | Benefit | Importance |
|---|---|---|
| Protection | Blocks environmental damage | High |
| Crafting | Unlocks advanced gear | Critical |
| Social Hub | Facilitates alliances | Medium |
| Resource Storage | Prevents loss during raids | High |
Alliances form naturally around established structures. Shared workshops and planning areas turn solitary outposts into thriving communities. This social layer adds depth beyond basic survival mechanics.
How to Build Base Dune Awakening: Getting Started
Establishing your presence on Arrakis begins with securing territory through the sub-fief console. This device marks your claim and defines buildable zones. Choose locations carefully—starter areas like Hagga Basin offer safer construction, while the Deep Desert challenges veterans with intense PvP dynamics.
Understanding the Sub-Fief Console and Land Claim
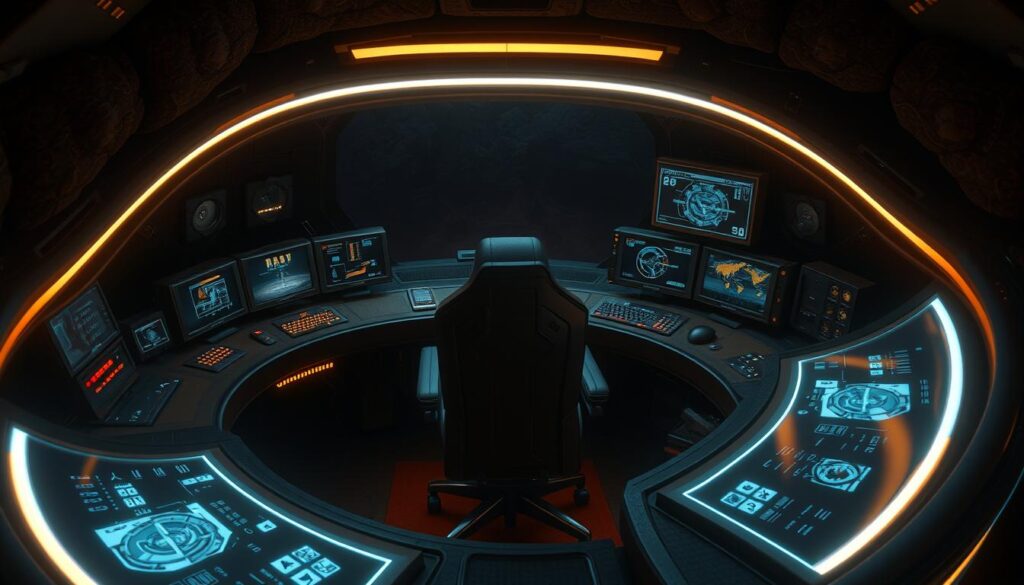
Your first task is locating unclaimed server space free from landmarks. The sub-fief console creates a territorial outline when paired with a Solido Construction Projector. Starter versions limit expansion, but advanced models unlock vertical growth through staking units.
Three consoles maximum can be owned, with only two basic units permitted. This forces strategic planning early on. Always position your projector near the console—failure here invalidates construction rights.
Initial Tools and Setup Essentials
Essential gear includes the Solido projector and at least one console. Follow this process:
- Scout regions matching your risk tolerance
- Deploy the console-projector combo in open areas
- Verify boundary markers before building
| Console Type | Expansion Capability | Max Allowed |
|---|---|---|
| Starter | None | 2 |
| Advanced | Horizontal/Vertical | 3 |
Resourceful players upgrade consoles quickly. Advanced units support layered defenses and multi-story designs crucial for surviving raids. Remember: your initial area choice impacts long-term survival odds.
Strategic Planning and Location Selection
Your survival on Arrakis hinges on smart positioning. The right location acts as both shield and supply line, balancing protection with resource access. Let’s explore how terrain and resource proximity shape your success.
Choosing the Right Terrain and Flat Areas
Natural flatness saves hours of adjustments. While foundation tiles smooth rocky surfaces, starting in pre-leveled areas lets you focus on expansion rather than repairs. Look for spaces allowing single-story growth without terrain clashes.
- Prioritize zones with existing clearings
- Avoid steep slopes requiring multi-level supports
- Check perimeter accessibility for future upgrades
Settling Near Critical Resources
Isolation risks dehydration and starvation. Base near scavenger camps to convert blood into water—a lifesaver during early game struggles. Resource-rich zones offer:
- Frequent dew flower spawns
- Quick access to salvage materials
- Trade routes with wandering merchants
Remote locations might feel safer but drain time through constant supply runs. Your first place should cluster essentials within 30 seconds of movement. Remember: relocation remains an option once you secure advanced blueprints.
Setting Up Your Base Structure and Layout
Your fortress on Arrakis becomes an extension of your survival strategy. Whether crafting alone or collaborating with allies, building mechanics offer freedom seen in top-tier survival games. The system balances creativity with practicality—design sleek outposts or sprawling compounds using modular pieces.
Customizing Your Design with Building Components
Four core elements shape every base build:
| Component Type | Examples | Strategic Value |
|---|---|---|
| Structural | Walls, floors, ceilings | Core protection |
| Functional | Workstations, generators | Resource production |
| Decorative | Lighting, banners | Morale boosts |
| Faction-Specific | Atreides arches | Special abilities |
Prefer efficiency over design? Use blueprints to place ghost structures before committing materials. The Exchange marketplace lets players sell creative layouts—perfect for time-strapped survivors. Early-game CHOAM pieces provide essentials, but faction alliances unlock game-changing styles.
Planning mode transforms ideas into reality. Click once to preview placements, adjust angles, then confirm with resources. This system prevents wasted materials while encouraging experimentation. Make sure to test layouts against sandstorms before finalizing.
Multi-team projects shine here. Combine blueprints with friends to create trade hubs or defensive networks. Shared building efforts often yield stronger results than solo attempts—especially when facing Arrakis’ deadliest threats.
Crafting, Resource Management, and Material Gathering
Transforming raw desert finds into survival tools separates rookies from veterans on Arrakis. Your shelter evolves into a production hub where schematics become life-saving gear. Smart organization turns scattered resources into streamlined workflows.
Efficient Resource Collection Techniques
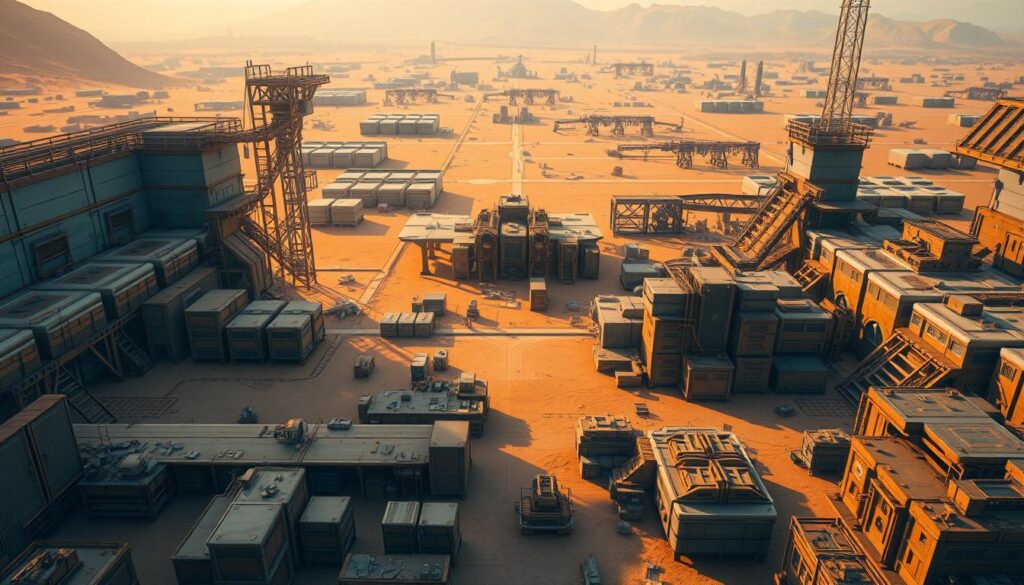
Scavenging runs demand strategy. Focus on high-yield zones near rock formations where rare materials cluster. Dew collectors and salvage scanners boost efficiency—prioritize these tools early.
Store everything immediately. Storage containers protect against loss during sandstorms or raids. The game lets you craft directly from stored items, saving precious minutes when rebuilding gear.
Crafting Stations and Workbench Setup
Specialized stations determine what you can produce. A tiered approach works best:
- Basic workbenches for repair kits and simple tools
- Advanced forges for vehicle parts
- Faction-specific modules for endgame gear
Link storage units to stations using the circuit system. This auto-pulls required components, letting you queue multiple craft items simultaneously. Group related stations near shared containers to minimize movement.
| Resource Type | Primary Use | Storage Tip |
|---|---|---|
| Metallic Salts | Weapon crafting | Near forges |
| Spice Residue | Medical items | Cool, dry areas |
| Plasteel Scraps | Structural upgrades | Central location |
Protecting Your Base from Threats and Natural Disasters
Securing your outpost demands constant vigilance against twin dangers: the planet’s wrath and rival ambitions. Smart defenses blend energy management with tactical positioning, creating layers that frustrate both environmental and human threats.
Shield Activation and Barrier Strategies
Shield walls form your first line of defense. Activate overlapping fields to deflect sandblast erosion and minor raids. Position generators underground—exposed units become easy targets during attacks.
Rotate shield segments to conserve power. Full coverage drains reserves quickly. Use motion sensors to activate barriers only when threats approach.
Energy Management in Extreme Conditions
Coriolis storms test every survivor’s preparation. Prioritize essential systems: cooling units and communication arrays. Store double the power cells you think you’ll need—blackouts during these events often prove fatal.
Connect backup generators to automatic triggers. This ensures seamless transitions when primary systems fail. Monitor consumption through linked control panels.
Countering Player-Led Assaults
Human enemies require psychological warfare. Place dummy storage rooms filled with decoy crates. Install sonic traps that disorient rather than kill—let the desert finish what you start.
Camouflage entry points using native rock patterns. Allies can memorize true access routes, while raiders waste time probing false walls. Regularly rotate defense patterns to protect base integrity against observant foes.