
Mastering the final challenge in Dune Awakening requires skill, strategy, and precise navigation. This essential trial marks the climax of the Fremen questline, testing players’ combat abilities and puzzle-solving expertise. Hidden within the Eastern Shield Wall’s rugged terrain, the journey demands careful preparation and sharp instincts.
Known as “The Footsteps of the Fremen”, this mission lies north of Mysa Tarill. Look for a distinctive blue marker etched into the canyon’s left wall—your gateway to the trial’s intricate challenges. Unlike earlier stages, success here hinges on balancing resource management with quick thinking during enemy encounters.
Prepare thoroughly before approaching. Stockpile ammunition, healing items, and extra water to survive the harsh environment. The rewards justify the effort: exclusive schematics like the Freman Deathstill and Ari’s Pistol await those who conquer this ultimate test.
Key Takeaways
- Final trial located in Eastern Shield Wall near Mysa Tarill
- Requires solving multi-layered puzzles and combat scenarios
- Critical preparation includes water, ammo, and healing supplies
- Offers rare gear blueprints for long-term progression
- Central to understanding Fremen history and game lore
Understanding Dune: Awakening and Its Trials
Dune: Awakening transforms survival into art through its Trials of Aql—eight hidden missions blending combat, exploration, and Fremen wisdom. These challenges aren’t just side activities; they’re the backbone of understanding Arrakis’ deadliest secrets while earning game-changing gear.
Overview of the Trials of Aql
The Trials of Aql act as Arrakis’ ultimate survival school. Each trial unlocks at specific Aql Altars scattered across the desert, testing skills like spice harvesting and sandworm evasion. Your first mandatory trial arrives during the “Echoes from the Past” story mission, teaching water conservation through the Scavenger Stillsuit blueprint.
The Role of Trials in Game Progression
Completing trials rewards schematics that evolve with your progress. Early stages grant basic survival tools, while later ones unlock advanced tech like the Freman Deathstill—a device critical for end-game spice processing. The table below shows how trial rewards scale:
| Trial Stage | Key Challenge | Blueprint Reward |
|---|---|---|
| 1-3 | Water management | Scavenger Stillsuit |
| 4-6 | Combat tactics | Crysknife Prototype |
| 7-8 | Spice refinement | Freman Deathstill |
These missions push players into high-risk zones near sandworm territories, where water drains 40% faster. Succeeding here doesn’t just upgrade your gear—it reveals how the Fremen thrived in this hostile ecosystem for millennia.
Navigating Arrakis: Essential Game Mechanics
Surviving Arrakis demands more than combat skills—it requires mastering its navigation systems. The Journey menu serves as your lifeline in this unforgiving desert, blending traditional gaming interfaces with environmental storytelling. Let’s break down the tools that’ll keep you oriented when every dune looks identical.

Utilizing the Journey Menu
Access trial locations through the “Find the Fremen” tab in your Journey menu. Selecting “View Trial Location” displays a snapshot of the target area—maybe a rock formation or ancient ruins. Unlike typical games, you won’t get GPS coordinates. Instead, match these images to real terrain like a Fremen scout.
Interpreting Quest Indicators and Symbols
Look for the glowing blue Eye symbol near trial entrances. These markers blend into cliff faces or abandoned structures. Environmental cues matter too—unusual shadows or wind patterns often hint at hidden paths. Watch your equipment load: heavy packs slow movement, making sandworm encounters riskier.
| Navigation Tool | Purpose | Survival Impact |
|---|---|---|
| Journey Screenshots | Identify trial zones | High (prevents wandering) |
| Blue Eye Symbols | Mark entry points | Critical (avoids missed trials) |
| Sand Movement | Indicates worm activity | Essential (prevents deaths) |
Smart explorers study landmark clusters. Three spires? That’s the Crimson Pass. A collapsed observatory? You’re near Trial #5. Pack extra water filters—detours are common when avoiding worm zones. Remember: The desert rewards those who read its subtle language.
Where Do I Find the 8th Trial in Dune Awakening
The path to the final Fremen challenge lies hidden within Arrakis’ most iconic landmark. To conquer this pinnacle test, you’ll need sharp observation skills and a survivalist’s mindset.
Identifying the Eastern Shield Wall
North of Mysa Tarill, the Eastern Shield Wall rises like a colossal sandstone fortress. Its layered cliffs glow amber at dawn—a helpful visual marker when approaching from southern routes. Seasoned players recommend scouting this location during midday when shadows shrink, revealing hidden crevices.
Two primary paths lead here. The northern route involves scaling treacherous cliffs, while southern approaches add 15 minutes to your journey but reduce fall risks. Watch for rock formations resembling stacked plates—these signal you’re 200 meters from the trial’s starting zone.
Recognizing the Blue Symbol and Entrance
The entrance hides behind a weather-worn archway on the wall’s left flank. Look for a cobalt-blue Fremen glyph etched into stone at chest height—it shimmers faintly under direct sunlight. This symbol marks access to Sietch Ta’lab, where the eighth trial unfolds.
Timing matters. Sandstorms can obscure the marker, so check your in-game weather tracker before departing. Once inside, there’s no turning back: stockpile at least 3 water canisters and repair kits. The trial’s elaborate design reflects its status as Arrakis’ ultimate survival exam—come ready to earn your place in Fremen history.
Exploring Previous Trials for Valuable Insights
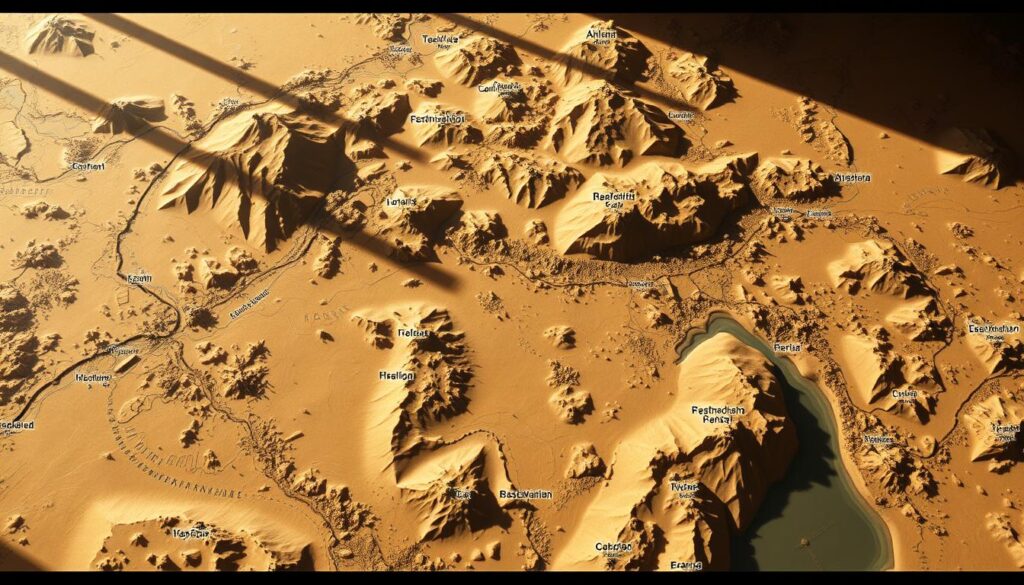
Arrakis’ earlier trials aren’t just checkpoints—they’re masterclasses in desert survival. Each trial AQL location builds critical skills through unique environmental storytelling and escalating challenges. Let’s map their strategic value.
Recap of Notable Trial Locations
The first trial in Mihna Cavern (Hagga Basin South) teaches stealth through shadow-dodging mechanics. Head east to the second trial AQL in Deep Struggle—a maze-like canyon in Eastern Vermillius Gap filled with pressure plate traps. This area demands careful footwork that preps players for later sandworm evasion.
Later challenges shift focus. The seventh trial AQL in Red Maw (Hagga Rift) combines vertical climbing with timed water conservation. Western Vermillius Gap’s third trial introduces spice harvesting under enemy patrols—a skill vital for endgame crafting.
Lessons from Earlier Challenges
Combat trials like Hollow Hammer drill weapon-switching tactics against armored Sardaukar troops. These encounters teach ammo conservation strategies crucial for the final trial’s marathon battles. The Devil’s Eye Cavern’s sixth trial reinforces thermal management—ignore those cracked coolant pipes at your peril.
Rewards tell their own story. Early blueprints like the Scavenger Stillsuit from Trial 1 become building blocks for advanced gear. The Static Compactor from Trial 4 transforms spice processing efficiency, while the Thumper from Trial 5 remains essential for worm-free exploration.
Essential Tips and Equipment for the Final Test
Conquering Arrakis’ ultimate challenge demands meticulous planning. The eighth trial AQL pushes players to their limits with multi-stage puzzles and relentless enemies in claustrophobic underground corridors. Success hinges on balancing survival instincts with strategic resource allocation.
Recommended Gear and Supplies
Pack twice the water you’d carry for earlier trials—underground routes block natural replenishment. Prioritize armor-piercing weapons and at least 150 rounds of ammunition for prolonged firefights. Healing kits prove vital: carry six standard medpacks or three advanced versions to offset trap damage and enemy strikes.
Strategies for Solving In-Game Puzzles
The door lock mechanism tests knowledge of Dune lore—memorize planetary names like Kaitain and Salusa Secundus beforehand. For the ecology puzzle, watch wall carvings depicting Arrakis’ native species. The Deathstill sequence requires aligning ancient symbols in this order: sandworm, spice bloom, and water droplet.
Managing Combat Encounters Effectively
Close-quarters battles favor shotguns and melee weapons over sniper rifles. Use narrow corridors to funnel enemies into chokepoints—throw grenades when groups cluster. Conserve ammo by aiming for helmet weak spots on armored foes. Always retreat to defensible positions after solving puzzles to reset enemy spawns.
Establish a nearby base with extra supplies before entering. Once started, the trial locks fast-travel options—ensure you’re fully equipped. Remember: patience trumps haste in this grueling test of Fremen mastery.
Step-by-Step Guide to Entering the Eighth Trial
Reaching the final challenge requires more than courage—it demands precision navigation across Arrakis’ deadliest terrain. The northern route to the Eastern Shield Wall tests even veteran players with crumbling cliffs and deceptive pathways. Approach during daylight hours for optimal visibility.
Mastering the Northern Descent
Scout the cliff’s edge for natural ledges resembling stair steps. These provide safe footholds when descending. Time jumps between platforms carefully—wait for wind gusts to subside. Sandy patches below reduce fall damage if missteps occur.
Securing Entry Safely
The cobalt-blue symbol marking the entrance appears on the wall’s left side. Circle the area counterclockwise if initially missed—perspective shifts reveal hidden details. Once inside, follow corridors downward into the depths. Turn right after passing three arched doorways to reach the main chamber.
Watch for carved arrows in stone floors guiding toward puzzle rooms. Avoid triggering loose rocks near staircases—they alert enemies. With patience and sharp observation, you’ll unlock Arrakis’ most rewarding survival challenge.