
Navigating the sprawling deserts of Arrakis can feel overwhelming for newcomers. Griffin’s Reach, located in the southern Hagga Basin, stands as your initial hub for commerce and survival in this vast MMO landscape. This outpost isn’t just a checkpoint—it’s a lifeline where players unlock contracts, trade resources, and access critical fast-travel systems.
Your journey begins with the quest “A Wider World,” which activates upon entering Griffin’s Reach. This mission introduces Ornithopter pilots, letting you skip tedious treks across hazardous dunes. Learning these mechanics early ensures smoother progression, whether you’re bartering spice or building alliances.
Our walkthrough simplifies locating this vital hub while highlighting its services. Discover navigation shortcuts, vendor interactions, and strategies to maximize your early-game efficiency. By mastering these basics, you’ll establish a foothold in Arrakis’ cutthroat economy—no sandworm encounters required.
Key Takeaways
- Griffin’s Reach is the starting tradepost in Hagga Basin South
- The quest “A Wider World” unlocks fast travel via Ornithopters
- Tradeposts provide safe zones for trading and accepting contracts
- Early navigation mastery accelerates resource gathering
- Understanding vendor roles boosts progression speed
Introduction to Trade Outposts in Dune: Awakening
In the merciless sands of Arrakis, survival hinges on strategic pit stops. Four main tradeposts anchor the Hagga Basin: Griffin’s Reach, The Anvil, Pinnacle Station, and The Crossroads. These fortified hubs blend commerce with refuge, creating safe zones where hostilities pause automatically.
Understanding the Role of Tradeposts
Ceasefire rules transform these locations into neutral grounds. Vendors stock survival gear, while contract boards offer missions for spice or reputation gains. Fast-travel terminals let players bypass deadly dune crossings.
Each hub caters to different challenge levels. Newcomers start at Griffin’s Reach, while veterans tackle Pinnacle Station’s high-risk deals. Smart route planning between them maximizes resource efficiency.
Why Trade Outposts Are Essential in the Game
Without these sanctuaries, managing thirst meters or sandworm threats becomes nearly impossible. They’re social hotspots too—swap intel with other players or recruit allies for expeditions.
“Tradeposts turn chaos into calculated strategy,” notes a veteran faction leader. Their inventories refresh periodically, encouraging repeat visits to secure rare crafting materials.
Understanding the Hagga Basin: Key Regions and Landmarks
The Hagga Basin stretches across Arrakis like a puzzle waiting to be solved. This sprawling region houses eleven distinct subzones, each with unique terrain and resources. From the jagged Eastern Shield Wall to the sulfur pits of Mysa Tarill, navigation here demands sharp awareness.
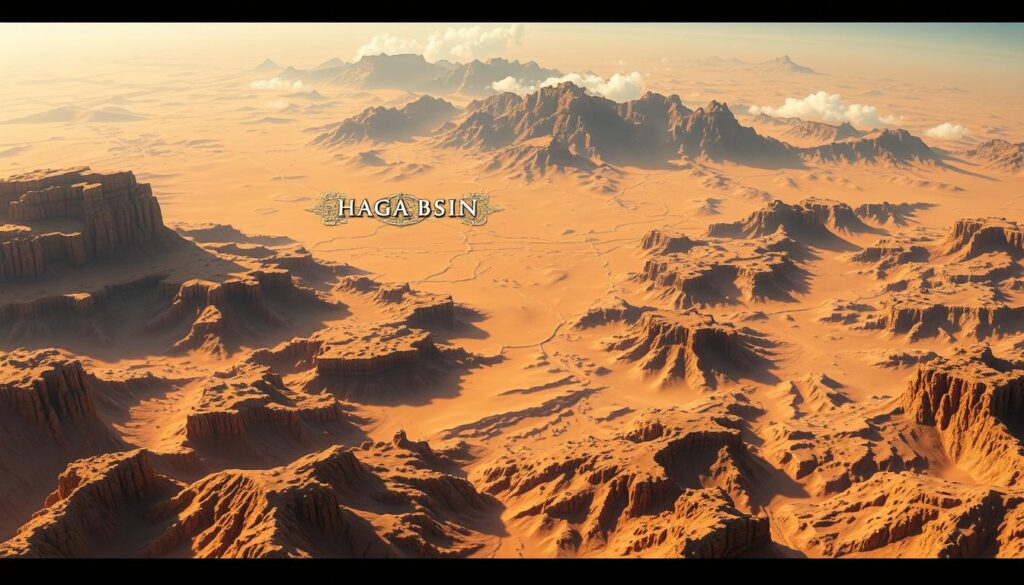
Exploring Hagga Basin and Surrounding Areas
New players often start in Hagga Basin South, where gentle slopes ease survival basics. Venturing west reveals the Vermillius Gap—a maze of rocky canyons hiding rare minerals. The O’odham sector tests veterans with aggressive sandstorms, while Sheol’s shipwrecks offer high-risk salvage opportunities.
| Location | Key Features | Recommended For |
|---|---|---|
| Arrakeen | CHOAM Exchange, faction hubs | Mid-game traders |
| Harko Village | Specialty armor vendors | Early crafters |
| Eastern Shield Wall | Imperial testing stations | Combat-focused players |
| Western Vermillius Gap | Spice bloom clusters | Resource gatherers |
Highlights: Arrakeen, Harko Village, and More
Arrakeen shines as the basin’s economic heart. Its markets sell advanced schematics, while the CHOAM Exchange lets players barter gear directly. Just northeast, Harko Village buzzes with crafters swapping desert-forged alloys for medical supplies.
Taxi posts connect these hubs, but smart explorers save currency by using natural landmarks. Watch for rock formations shaped like Fremen knives—they often mark safe paths through shifting sands.
how to get to the first trade outpost in dune awakening
New survivors often spot Griffin’s Reach long before arriving—its metallic spires catch sunlight like a beacon. This central hub in Hagga Basin South becomes accessible after completing early survival tutorials. Follow the main storyline missions to trigger automatic map markers pointing toward this critical location.
Following the Golden Path
Game progression naturally funnels players toward the tradepost through quest rewards and environmental cues. Watch for supply crates along primary routes—these often contain hydration packs to counter desert heat. Your minimap displays distance markers once you’re within 800 meters, helping adjust your bearing.
Desert Wayfinding Essentials
Three sandstone pillars shaped like grasping hands mark the final approach from the east. Veteran players recommend activating your terrain scanner periodically—it highlights elevation changes that conserve stamina. Pro tip: Collect blue-glowing resin clusters near rock formations. These later trade well at the outpost’s crafting stations.
Contracts become available immediately upon arrival, with many directing you to nearby resource nodes. Bookmark your map after discovering Griffin’s Reach—it serves as a perfect base for exploring western sulfur flats and northern salvage sites.
Navigating the Desert: Fast Travel and Transportation
Mastering desert traversal separates thriving survivors from those swallowed by Arrakis’ sands. Unlike traditional MMO mechanics, transportation here demands strategic planning and resource allocation. Three core systems dominate movement: NPC-operated taxis, fixed travel routes, and player-crafted vehicles.

Utilizing Taxi Services and Fast Travel Options
Locate Ornithopter Pilots near glowing holograms at every tradepost. These NPCs charge varying rates based on destination type:
| Destination | Cost | Return Trip |
|---|---|---|
| Social Hubs | 2,500 Solaris | Free |
| Other Tradeposts | 700 Solaris | Same Rate |
New players gain instant access after discovering their initial hub. Veterans recommend mapping multi-stop journeys to conserve currency. “Grouping objectives saves weeks of grinding,” notes a top-ranked guild leader.
Cost Considerations and Quick Access Points
Smart navigation balances time and resources. Consider these strategies:
- Batch social hub visits for faction events and rare trades
- Use free return trips for heavy resource transport
- Prioritize inter-tradepost hops during contract rotations
Crafting personal Ornithopters becomes viable mid-game. This eliminates fees but requires rare alloys from shielded caves. Early investment pays off—experienced pilots report 73% faster progression compared to taxi reliance.
Exploring Tradepost Activities: Contracts, Trading, and Lore
Arrakis’ tradeposts buzz with opportunities beyond basic survival. These hubs pulse with mission boards, faction politics, and rare goods that shape your desert journey. Let’s break down their hidden layers.
Mission Boards: Your Gateway to Progress
Glowing contract terminals dominate every trading post. These boards offer tasks ranging from spice deliveries to eliminating marauders. Check reward tiers before committing:
| Contract Type | Difficulty | Common Rewards |
|---|---|---|
| Supply Run | Low | Water, Basic Components |
| Bounty Hunt | Medium | Weapon Schematics, Solaris |
| Caravan Defense | High | Rare Alloys, Favor Tokens |
New players should start with green-marked quests. These teach mechanics while stocking your inventory. Completing three contracts unlocks bonus objectives with blueprint rewards.
Whispers of the Great Houses
Look for representatives wearing house colors near market stalls. While they won’t recruit you outright, these NPCs drop hints about faction conflicts. A Harkonnen agent might reveal spice smuggling routes, while an Atreides envoy discusses ecological restoration projects.
“Their stories changed how I view the awakening of Arrakis’ political landscape,” shares a player with 200+ hours. Regular conversations can trigger hidden world events when combined with specific items.
Vendors rotate stock daily—check back often for limited schematics. Always carry extra water pouches; dehydration kills faster than sandworms in remote regions. Smart traders compare prices across multiple hubs before major purchases.
Strategic Tips for Trading, Crafting, and Resource Management
Surviving Arrakis demands more than combat skills—it requires economic cunning. The desert’s simulated economy rewards adaptable strategies, where overproduced items lose value and regional needs shift like sand. Smart players monitor multiple hubs before making moves.
Marketplace Insights and Crafting Essentials
Specialty shops in social hubs stock exclusive schematics and rare materials like Plasteel Microflora Fiber. These gear upgrades often require bartering with other survivors at the Exchange. Check these hotspots daily:
| Location | Specialty | Best For |
|---|---|---|
| Arrakeen | Vehicle parts | Mid-game explorers |
| Harko Village | Desert armor | Early crafters |
| Pinnacle Station | Rare alloys | Veteran traders |
Regional pricing fluctuates wildly. Sulfur crystals might fetch 300 Solaris at Griffin’s Reach but triple that in water-starved zones. “I lost a fortune before learning to check three markets first,” admits a seasoned spice runner.
Focus crafting efforts on high-demand materials. Water recycler parts and coolant rods maintain steady value across regions. Always carry extra moisture traps—these lightweight items trade well during sandstorm alerts.
Build supplier relationships through repeat deals. Loyalty often unlocks discounted rates or first dibs on limited stock. Diversify your trade portfolio with a 60/40 split between staple goods and niche commodities to hedge against market crashes.
Leveraging Interactive Maps and In-Game Resources
Mastering Arrakis’ endless dunes requires smart use of digital tools. The game’s interactive map system transforms exploration from guesswork to strategic planning. Accessible via a magnifying glass icon, this feature becomes your desert survival companion.
Pinpointing Vital Locations
Custom pins let players mark resource clusters or hidden locations across browsers and devices. Cross-platform sync ensures your discoveries stay updated, whether playing on PC or console. Filter options declutter the view, letting you focus on active objectives.
Search functions slash exploration time by delivering exact coordinates. Need a specific vendor? Type their name for instant directions. Layer toggles provide zoomed-out regional views or hyper-detailed local scans. This flexibility helps balance long-term planning with immediate navigation needs.
Regular map checks reveal safer routes avoiding sandworm zones. Combine these insights with in-game landmarks like rock formations or abandoned settlements. Together, they create a foolproof guide for efficient travel and smarter trading in Dune Awakening.