
Surviving Arrakis demands more than luck. The scorching sands and unpredictable threats of this desert planet require strategic planning. A well-designed shelter becomes your lifeline, offering protection from sandstorms, rival factions, and the planet’s relentless environment.
Your headquarters isn’t just four walls – it’s the heart of your operations. Here, you’ll craft gear, store resources, and develop vehicles critical for exploration. Smart design choices enable faster progress, whether you’re playing solo or collaborating with allies.
Location matters as much as construction. Elevated spots provide visibility, while hidden valleys offer secrecy. Every decision impacts your long-term success, from material selection to defensive layouts. Natural terrain can become your greatest ally against both environmental hazards and enemy raids.
This guide focuses on creating adaptable structures that grow with your needs. Learn to balance resource efficiency with tactical advantages, turning your shelter into a springboard for domination. Master these principles, and you’ll transform Arrakis from a death trap into your personal stronghold.
Key Takeaways
- Strategic base design directly impacts survival rates on Arrakis
- Location selection affects both security and resource accessibility
- Defensive planning must account for environmental and player threats
- Efficient resource management accelerates progression
- Modular designs allow for scalable expansion
Understanding the Importance of a Base in Dune Awakening
In the vast deserts of Arrakis, your base stands as the cornerstone of survival and strategy. It’s not just walls and workbenches—this space determines whether you thrive or become another casualty of the shifting sands.
Survival and Crafting Essentials
Shelters shield you from sandstorms and scorching heat, but their value runs deeper. Dedicated crafting stations let you transform raw materials into life-saving gear. Without these facilities, even basic survival tools remain out of reach.
Advanced schematics for weapons and vehicles require controlled environments. Imagine assembling a spice harvester in open dunes—windblown sand would jam its gears before completion. Storage systems keep resources organized, cutting crafting time by half.
Socializing and Forming Alliances
Bases naturally attract other survivors. Shared workshops become trading hubs where blueprints exchange hands. One player’s spare coolant rods might complete your reactor upgrade.
“Alliances forged in shared shelters last longer than temporary truces,” notes a veteran faction leader. Group expeditions launch from these safe zones, combining resources to explore high-risk areas. Roleplay opportunities let you shape your legacy, whether as a mercenary guild leader or a diplomatic spice trader.
How to Build a Base in Dune Awakening
Strategic placement separates thriving settlements from forgotten ruins. Your initial land claim shapes resource access, defense capabilities, and expansion potential across the shifting sands.
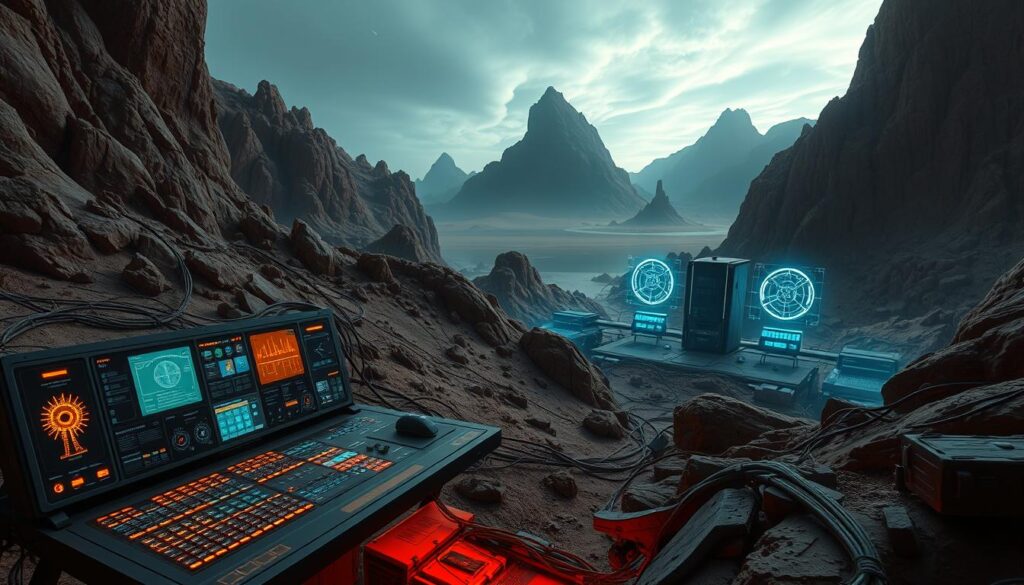
Choosing the Ideal Location and Landmarks
Hagga Basin’s sheltered plateaus offer new survivors breathing room. These areas balance resource availability with manageable threats—perfect for mastering construction basics. One veteran player notes, “My first outpost near a spice seep became our alliance’s economic hub.”
Flat terrain with clear sightlines lets you spot sandworm vibrations or approaching raiders. Scout near rock formations that block sandstorms but avoid permanent landmarks claimed by powerful factions. Proximity to underground water sources cuts long-term maintenance costs.
Utilizing the Sub-Fief Console and Construction Tools
Your Solido Construction Projector anchors operations. Pair it with the sub-fief console to lock down a 150-meter radius—critical for preventing rival land grabs. Position these devices against canyon walls or mesas to create natural choke points.
Three base slots let you establish resource collection outposts, hidden vaults, and frontline PvP hubs. Upgrade consoles to expand territory control, but remember: deep desert installations demand constant defense against both players and colossal sandworms.
Strategic Design & Construction Techniques
Mastering construction on Arrakis requires more than basic survival skills—it demands architectural ingenuity. Smart builders maximize every inch of their territory while preparing for future expansions. Let’s explore methods that balance creativity with practicality.
Vertical Expansion and Tunnel Engineering
Vertical Staking Units revolutionize desert architecture. These devices let you stack floors upward, creating watchtowers or hidden storage levels. One player reported tripling their usable space by anchoring structures to canyon walls.
The “Corner Anchoring” technique pushes boundaries. Place foundation blocks at your territory’s edges, then build outward. This method works best when aligned with your Sub-Fief Console’s holographic grid.
Tunnel construction demands precision. Use 30-degree slopes for Sandbike access—steeper angles trap vehicles. Swap foundation blocks for lightweight roof pieces, saving 5 granite per tile. These adjustments make underground networks both functional and resource-efficient.
Blueprints, Freeform Building, and Pre-Designed Structures
Two approaches dominate desert construction. Pre-made blueprints offer speed, while freeform designs enable customization. The choice depends on your goals and resources.
| Method | Best For | Resource Cost |
|---|---|---|
| Blueprints | Quick setups | 15% less materials |
| Freeform | Unique layouts | Full control |
| Community Designs | Inspiration | Variable |
The player Exchange buzzes with creative solutions. One popular blueprint features rotating walls that confuse raiders. Others focus on spice-processing efficiency. Freeform builders often combine multiple styles—think metal-reinforced adobe walls with solar-paneled roofs.
Remember: Great designs adapt. Start with pre-made structures, then modify them as your needs evolve. This hybrid approach saves time while maintaining personality.
Protecting and Fortifying Your Base
Defending your territory on Arrakis requires layers of protection. Your shield system forms the backbone of security, blending advanced technology with smart energy management. Without proper safeguards, even the sturdiest structures crumble under environmental fury or rival sabotage.
Shield Activation and Defensive Components
Activate protective barriers through your Sub-Fief Console. These energy domes deflect Coriolis Storm debris and block unauthorized entry. Veteran players recommend:
“Always maintain backup power cells – one generator failure could erase weeks of progress.”
Pentagonal shield patterns maximize coverage in rectangular layouts. Place secondary emitters near storage areas and crafting stations. Dual systems at main gates create overlapping fields, buying critical time during raids.
Weather Hazards and PvP Safety Measures
Weekly sandstorms test every base’s resilience. Unshielded structures disintegrate within minutes when the planet’s fury strikes. Deep Desert zones heighten risks – all alliances become temporary in these lawless regions.
Strategic chokepoints slow enemy advances. Combine elevated turrets with recessed trenches to funnel attackers into kill zones. Monitor power consumption daily – shields drain 40% more energy during extreme weather events.
Integrating Resources, Materials, and Upgrades
Effective resource integration separates thriving outposts from abandoned relics on Arrakis. Every component in your shelter must work together like gears in a spice harvester, transforming raw elements into survival advantages.
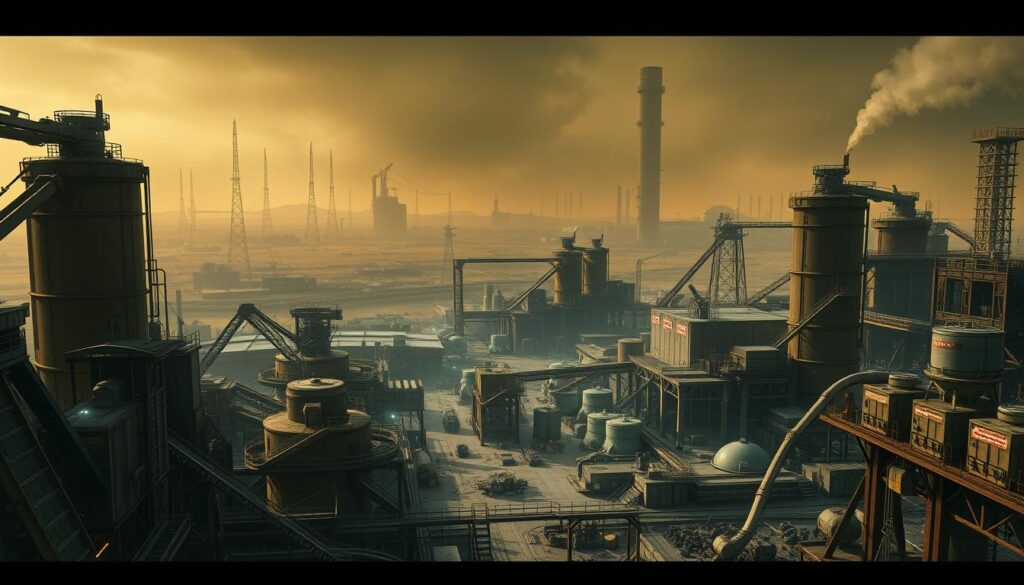
Smart Gathering and Processing Systems
Start with dedicated refining zones near entry points. This setup lets you process ores and crystals immediately after collection. Slope-mounted shelving systems maximize vertical space—three medium chests per 30-degree incline keep components organized yet accessible.
One veteran scavenger shares: “My tunnel base holds 40% more spice samples using wedge-wall storage.” Pair these with vehicle access ports for mining buggies. Remote unloading saves hours normally spent hauling resources manually.
Crafting Efficiency and Energy Solutions
Roof-mounted wind traps power 73% of basic operations while preserving ground space. Underground installations benefit from Tier 2 Blood Purifiers—these devices convert waste materials into usable fluids within sloped chambers.
Prioritize these upgrades for smoother workflows:
- Centralized crafting stations with linked storage
- Color-coded chests for quick item identification
- Backup power relays near critical gear
Remember: A well-organized base handles spice refinement and equipment production simultaneously. This efficiency becomes crucial when preparing for Arrakis’ unpredictable challenges.
Managing Taxes, Threats, and Base Maintenance
Economic strategy separates lasting strongholds from temporary camps on Arrakis. Smart operators balance Imperial demands with operational needs, turning bureaucratic challenges into competitive advantages.
Imperial Obligations and Revenue Streams
Tax payments scale with your ambitions. Larger complexes incur heavier tribute, requiring savvy resource management. One veteran trader notes: “Selling processed spice covers 80% of my Imperial dues.”
The Sardaukar enforce compliance ruthlessly. Unpaid debts trigger shield deactivations, exposing structures to Coriolis Storms and raiders. Maintain multiple income sources—refined materials trade well on the Exchange during peak demand.
Energy Infrastructure and Shield Integrity
Power systems demand constant attention. Generators guzzle fuel cells, while wind turbines need chemical lubricants. Hybrid energy setups prove most reliable during sandstorm season.
Shield walls drain 30% more energy when active. Schedule maintenance during calm periods. Always keep backup power relays charged—your defensive screens depend on uninterrupted flow.
Remember: Prosperity on Arrakis means mastering both logistics and combat. Keep your ledgers balanced, your shields charged, and your spice flowing.