
Ready to unlock one of the most sought-after roles in your journey across Arrakis? While most classes are available from the start, there’s a hidden specialization that demands skill and perseverance. This exclusive path isn’t just about survival—it’s about mastering the desert itself.
The fifth class stands apart from the rest, requiring players to venture beyond the starting zone. You’ll need to locate a mysterious trainer in the vast sands and complete rigorous trials. These missions test your adaptability to extreme environments and resource-gathering efficiency.
Why pursue this path? The rewards include game-changing abilities like enhanced navigation and faster material collection. These skills transform how you interact with the world, turning harsh landscapes into manageable challenges. Reaching Level 2 opens advanced techniques that make exploration smoother and more rewarding.
Your journey begins at scattered Imperial Testing Stations, where each quest builds toward proving your worth. Finding the right trainer—Derek Chinara—is just the first step. Prepare for escalating challenges that push your strategic thinking to new heights.
Key Takeaways
- The fifth class requires completing special desert quests, unlike other starting options
- Survival-focused abilities boost travel speed and resource gathering efficiency
- Locate trainer Derek Chinara through exploration of remote testing stations
- Level 2 certification grants access to advanced environmental mastery skills
- Questline rewards include unique tools for thriving in extreme conditions
Introduction to the Planetologist Journey
Embarking on this specialized path transforms your desert experience through nine carefully designed missions. You’ll recover lost artifacts, decode ancient records, and forge alliances with key figures across Arrakis. Each challenge builds toward mastering survival in extreme conditions.
Overview of the Questline
The journey begins with recovering Minimic Film records near Hagga Basin. Early missions teach essential resource tracking and sandstorm navigation. By Quest 3, you’ll navigate imperial bureaucracy while uncovering hidden research stations.
Key characters like Derek Chinara appear as you progress, offering unique insights into desert ecosystems. Completing all nine core quests takes significant time investment, but the optional “Assistance Needed” mission provides bonus XP to speed up progression.
What You Can Expect at Level 2
Reaching this milestone unlocks game-changing advantages. Your environmental suit gains 40% better heat resistance, and rare material detection range doubles. These survival skills let you:
- Locate water pockets through sand vibrations
- Convert toxic plants into usable resources
- Predict weather patterns using star alignments
Travel time between objectives drops dramatically as you master shortcut routes through dune valleys. The final quests become manageable through smart resource management rather than sheer endurance.
Understanding the Planetologist Role in Dune Awakening
Surviving the extreme conditions of Arrakis is no small feat. This specialization turns relentless sandstorms and scorching heat into manageable obstacles through strategic adaptations. Those who master its techniques gain unprecedented control over their surroundings.
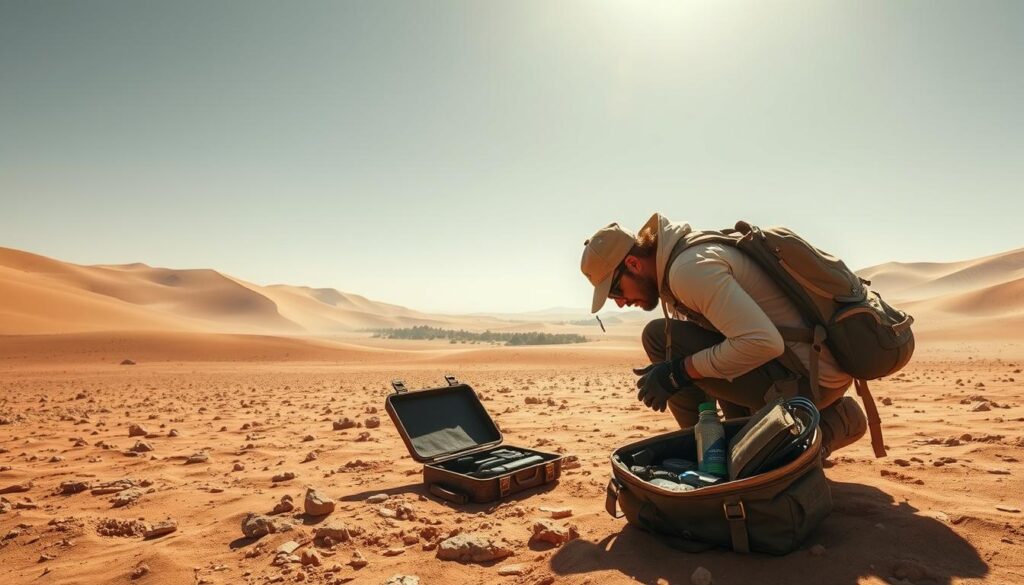
Role Breakdown and Benefits
The class focuses on three core survival pillars: environmental resistance, resource efficiency, and terrain mastery. Players gain passive boosts that automatically improve navigation accuracy and material detection ranges. These abilities stack as you progress through levels:
| Level | Skill Unlocked | Key Benefit |
|---|---|---|
| 2 | Basic Adaptation | 40% heat resistance |
| 4 | Spice Surveyor | Double spice detection |
| 6 | Heat Management | 90% storm protection |
How the Class Enhances Your Gameplay
Early access to terrain-reading skills lets you spot hidden water sources and safe routes through dune fields. At higher levels, you’ll convert hostile plants into usable materials and predict sandworm movements through ground vibrations.
The progression system rewards dedicated explorers with game-changing upgrades. By Level 5, energy conservation skills reduce water consumption by 35% during long treks. These improvements transform tedious journeys into efficient expeditions where every resource counts.
dune awakening planetologist guide: A Step-by-Step Walkthrough
Starting your specialized training requires careful navigation through the desert’s challenges. This path begins with locating a crucial mentor and understanding imperial facilities that will shape your progression.
Initiating the Quest and Meeting Key Characters
Your first objective leads east of Griffin’s Reach to Imperial Testing Station No. 2. Look for Derek Chinara’s camp perched above the facility – a strategic position offering visibility over surrounding dunes. The seasoned trainer assesses newcomers through practical trials rather than formal introductions.
Derek’s initial request seems simple: retrieve a manifest from the testing station below. This task serves multiple purposes. It tests your ability to navigate confined spaces while teaching layout patterns common to imperial structures.
Early Steps and Essential Preparations
Before approaching the station, gather these critical supplies:
| Item | Purpose | Minimum Quantity |
|---|---|---|
| Water Canisters | Prevent dehydration | 3 |
| Medkits | Combat scorpion venom | 2 |
| Glow Rods | Navigate dark corridors | 5 |
The area surrounding the testing station hides unexpected dangers. Sand scorpions often nest near ventilation shafts, while sudden cave-ins can block return paths. Memorize exit routes during your first visit – you’ll revisit this location frequently as training intensifies.
Building rapport with Derek early unlocks valuable insights about desert survival. Pay attention to his remarks about weather patterns during debriefings – these clues prove vital in later missions.
Navigating Imperial Testing Stations and Their Challenges
Mastering imperial facilities requires understanding their unique layouts and dangers. Three critical stations test your adaptability through environmental hazards and complex designs. Each location demands specific strategies to overcome its obstacles efficiently.
Key Testing Facilities to Conquer
Station No. 197 in Western Vermillius Gap features a deceptive entrance. The real access point lies northwest through rock tunnels, while the visible hole near Derek Chinara serves as an exit. Watch your step during the steep descent to avoid fall damage.
Station No. 76 in Jabal Eifrit Al-janub traps your mentor between locked doors. You’ll battle through aggressive flora while hunting keys in glass-walled observation rooms. Memorize staircase layouts to avoid getting lost in this multi-level maze.

Smart Approaches for Station Success
| Station | Main Challenge | Essential Gear |
|---|---|---|
| No. 197 | False entrances | Grappling hooks |
| No. 76 | Locked doors | Bolt cutters |
| No. 29 | Vertical entry | Climbing spikes |
Station No. 29 in Hagga Rift skips traditional stairs entirely. Use climbing gear to navigate its sheer drop entrance. This facility intensifies combat scenarios with faster enemy respawn rates compared to earlier stations.
Always carry extra medkits and environmental scanners. Study station blueprints at nearby outposts before entering. Adapt your loadout based on each location’s specific threats to maintain the upper hand.
Recovering Minimic Film Records for Skill Unlocks
Discovering these rare artifacts requires sharp eyes and clever navigation. The films hold critical data for advancing your survival capabilities, hidden in cleverly designed compartments across imperial facilities.
Locating the Films Behind False Walls
Watch for walls that don’t quite match their surroundings. Testing Station No. 197 hides its prize behind a green door, with the cache waiting immediately left. Station No. 76 demands climbing to glass-walled rooms before scanning the back-right corner.
Three telltale signs reveal hidden compartments:
- Mismatched wall textures
- Unusual geometric patterns
- Faint glow around edges
Tactical Approaches to Record Collection
Your compass points the way, but success requires strategy. Station No. 71 rewards those who stick left during initial exploration. Always check for:
| Station | Key Strategy | Reward Multiplier |
|---|---|---|
| No. 197 | Immediate left turn | 1.5x XP |
| No. 76 | Upper-level search | 2x Materials |
| No. 71 | Left-path priority | 3x Skill Points |
Systematic searches save time – scan each room clockwise. Test suspicious walls by interacting with control panels nearby. Regular practice helps spot hidden compartments faster through pattern recognition.
Flying and Fast Travel: Tips for Accessing Remote Areas
Efficient movement across the sands can make or break your mission success. While ground exploration remains essential, mastering aerial transport unlocks new possibilities for ambitious travelers. Griffin’s Reach emerges as the prime hub for these operations, positioned near critical objectives throughout the region.

Securing Flights to Key Destinations
Public ornithopter services offer lifelines when time matters most. For 2,500 Solari per trip, pilots whisk you to Arakeen or Harko Village from any approved location. Three factors determine smart flight choices:
- Cluster nearby objectives before departing
- Verify pilot availability through local bulletins
- Time departures between sandstorm cycles
Optimizing Your Flight Strategy
Seasoned explorers prioritize personal ornithopter acquisition. Ownership eliminates recurring costs and grants access to uncharted areas. Consider this comparison:
| Transport Type | Cost per Hour | Access Level |
|---|---|---|
| Public | 2,500 Solari | Fixed routes |
| Private | Fuel only | Full map access |
Combine short flights with ground surveys to maximize each journey. Map out backup landing zones in case weather shifts mid-flight. Smart travelers always check their environmental suits before boarding—high-altitude cold snaps surprise many first-time flyers.
Locating Key NPCs: Derek Chinara, Cyprian Io, and Thufir Hawat
Tracking down essential contacts across Arrakis becomes crucial for advancing your expertise. Three figures hold critical knowledge for desert survival, each requiring unique approaches to locate and engage effectively.
Meeting Derek at the Camp and Testing Station Entrances
Your journey begins at Imperial Testing Station No. 2 in Hagga Basin South. Look for Derek Chinara’s camp perched on rocky outcrops above the facility. This strategic position lets him monitor activity while remaining hidden from casual explorers.
When you return to Derek after missions, watch for subtle environmental clues. His camp shifts slightly between visits to avoid detection. Always approach from the eastern dunes to trigger proper dialogue options.
Finding Cyprian and Thufir in Arrakeen
Head to Arakeen’s Salusan Bull bar after landing. Climb two staircases to the top-right corner, where Cyprian Io holds court under a faded umbrella. His bodyguard scans newcomers, so approach slowly with empty hands.
For Thufir Hawat, cross Arakeen to the open-air markets. He lingers near spice traders, blending seamlessly into the crowd. Listen for his distinctive laugh – it often reveals his position before visuals do.