
Ready to master survival on Arrakis? This guide reveals how to unlock a specialized class that transforms desert exploration. While four starter options are available initially, the fifth requires venturing beyond safe zones to locate a hidden mentor.
Your journey begins at Hagga Basin South, where trainer Derek Chinara awaits above Imperial Testing Station No. 2. This expert teaches critical abilities like heat resistance and spice detection – skills that turn harsh environments into manageable pathways. Through nine carefully designed missions, you’ll recover rare artifacts while navigating complex facilities.
Our walkthrough simplifies every challenge, from locating secret passages to optimizing travel routes. You’ll learn combat strategies for hostile encounters and methods to reduce resource costs. Each completed objective unlocks new survival techniques, culminating in full access to the class’s powerful skill tree.
Key Takeaways
- Discover the only class requiring advanced desert navigation
- Locate trainer Derek Chinara at a specific testing station
- Complete nine missions to unlock all abilities
- Gain skills improving resource gathering and travel efficiency
- Access endgame perks like automated heat management systems
Introduction and Quest Overview
Embark on a journey through shifting sands and forgotten labs to unlock Arrakis’ secrets. The nine-part mission chain challenges players to master environmental puzzles and tactical navigation across diverse terrains. An optional pre-quest offers bonus rewards for those willing to explore off-path locations.
Each phase builds crucial survival capabilities through hands-on challenges. Early tasks focus on retrieving vital records from crumbling facilities, while later objectives involve deciphering coded messages in ancient ruins. The progression system ensures every completed mission delivers immediate gameplay enhancements.
| Quest Stage | Primary Objective | Skill Unlocked |
|---|---|---|
| 1 | Minimic Film Recovery | Spice Analysis |
| 3 | Adhering to Hierarchy | Sandworm Detection |
| 5 | The Search for Kynes | Moisture Synthesis |
| 9 | The Final Piece | Heat Management |
Strategic movement between testing stations becomes crucial as you advance. Facilities like No. 197 and No. 76 hide vital clues behind false walls requiring careful inspection. These locations test both combat readiness and problem-solving skills.
The skill tree evolves dramatically throughout the experience, transforming basic survival tactics into advanced environmental mastery. Completing all stages grants access to automated systems that handle extreme temperature fluctuations, letting you focus on larger strategic goals.
Mastering the “dune awakening planetologist quest”
Cracking the code of desert survival starts with Derek Chinara, your mentor near Imperial Testing Station No. 2. His training focuses on locating Minimic Film records – fragile data reels hidden behind false walls in abandoned facilities. These missions demand sharp eyes and patience, as every station holds unique environmental puzzles.

Your compass becomes essential for tracking objectives, but true mastery requires going beyond waypoints. Testing stations like No. 197 feature rotating security systems, while No. 76 hides loot behind collapsing ceilings. Watch for subtle cracks in walls or unusual sand patterns – these often mark secret chambers.
| Challenge Level | Key Focus | Survival Tip |
|---|---|---|
| Beginner | Basic Navigation | Follow compass markers |
| Intermediate | Combat Readiness | Use vertical spaces |
| Expert | Resource Optimization | Scan floor vents |
Early quests teach heat management through practical trials. Later stages introduce automated systems that handle extreme temperatures, letting you focus on strategic decisions. Each cleared testing station unlocks abilities that stack, creating powerful synergies for endgame content.
Success hinges on balancing exploration with efficiency. Rushing leads to missed shortcuts, while over-searching drains supplies. Study station blueprints when available – they often reveal hidden supply caches near Minimic Film vaults.
Preparing for the Journey: Equipment, Skills, and Mindset
Surviving Arrakis’ harsh environment demands more than courage—it requires smart preparation. Three elements will determine your success: adaptable combat skills, reliable tools, and strategic resource allocation. Let’s break down what you need before facing those sealed testing station entrances.
- Thermal-resistant armor (minimum Tier 3)
- Electro-tipped melee weapons for close-quarters combat
- 25+ healing syringes and 50 rounds of ammunition
Travel costs add up quickly. Charter flights between Arakeen and Harko Village cost 2,500 Solari each way—budget for at least five round trips. A Survey Launcher pays for itself by revealing hidden testing sites through sandstorms. Pair it with seismic probes to map underground chambers before entering.
Enemy encounters follow predictable patterns. Circular rooms often hold armored foes requiring flanking tactics, while narrow corridors spawn quick melee attackers. Practice switching between ranged and close-range weapons mid-fight to conserve ammo.
Adopt these habits to save time:
- Scan walls for temperature variations indicating secret doors
- Mark supply caches on your map during initial sweeps
- Pause hourly to reassess inventory levels
Rushing through facilities leads to missed clues and costly backtracking. Schedule 3-4 hour blocks for testing station exploration—the complex layouts demand focused attention. Remember: patience reveals more shortcuts than haste.
Locating Derek Chinara: Your Gateway to Planetologist Training
Your path to desert mastery starts at a research outpost overlooking Imperial Testing Station No. 2. Derek Chinara’s camp sits 500 meters east of Griffin’s Reach in Hagga Basin South – look for solar panels reflecting sunlight across rocky terrain. This accessible hub serves as your training ground before tackling remote facilities.
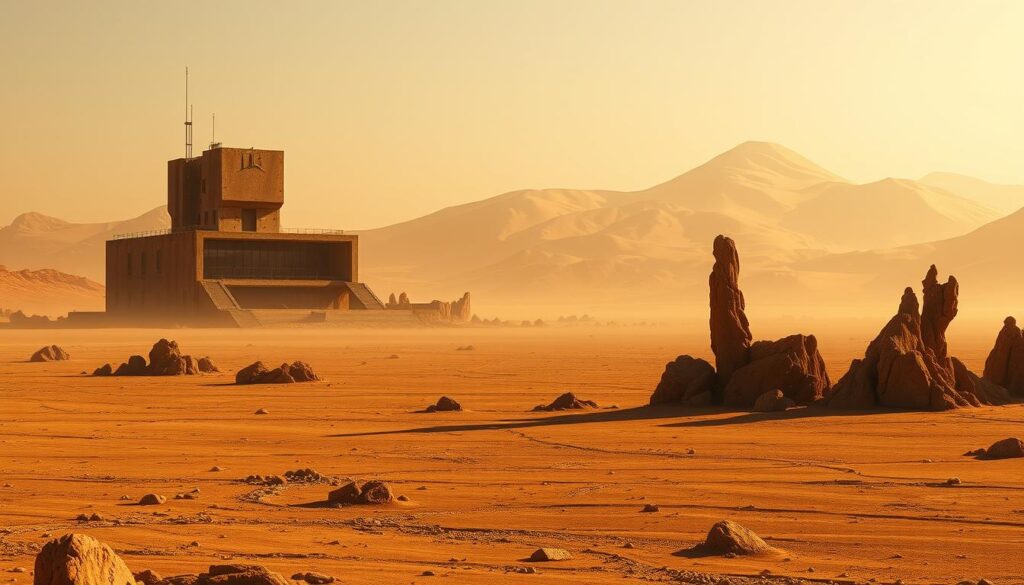
The camp’s position above Testing Station No. 2 isn’t random. Derek monitors seismic activity through equipment linked to chambers below. Newcomers should note three landmarks when approaching:
| Landmark | Distance from Camp | Navigation Tip |
|---|---|---|
| Griffin’s Reach | 0.5 km | Follow eastern canyon walls |
| Testing Station Entrance | 200m downhill | Watch for yellow hazard markers |
| Supply Cache | Northwest ridge | Scan for metal debris piles |
Derek’s setup combines living quarters and analysis tools. You’ll return here after each mission to decrypt recovered data. The proximity to Griffin’s Reach lets you restock quickly between assignments.
First-time visitors often miss the camp’s hidden observation deck. Climb the metal ladder near the communications array for a panoramic view of Hagga Basin South. This vantage point reveals safer routes to Testing Station No. 2’s entrance.
Navigating Imperial Testing Stations
Conquering Imperial Testing Stations demands sharp observation and pattern recognition. These facilities hide their true paths behind clever environmental design, rewarding thorough explorers with rare resources and shortcuts.
Discovering Station No. 197 and Its Hidden Entrances
Western Vermillius Gap’s Station No. 197 flips expectations immediately. What appears as an entrance near Derek’s position is actually the exit – the real access point lies northwest through a wide rock tunnel.
| Station Feature | No. 197 | No. 76 |
|---|---|---|
| Entry Method | Descend through hole | Standard staircase |
| Key Challenge | Reverse navigation | Rescue operation |
| Film Location | Left green door | False wall corner |
Derek waits at the base of the entry hole, ready to brief you before the descent. The facility’s layout becomes clearer when approached backward – a design quirk that catches many off guard.
Exploring Station No. 76 for Minimic Film Records
Jabal Eifrit’s testing facility presents new complications. This time, your mentor needs rescuing from a cage between two sealed doors before film recovery can begin.
Three crucial steps ensure success here:
- Clear enemies near glass observation rooms
- Locate keycards in adjacent laboratories
- Scan back walls for temperature anomalies
The final film stash hides behind a false surface in the northwest corner. “These stations test both combat skills and environmental awareness,” Derek notes during debriefings.
Recovering Minimic Film: Tips, Tricks, and Secret Doors
Cracking Imperial Testing Stations’ hidden vaults requires sharp eyes and methodical searching. These facilities guard their Minimic Film records behind cleverly disguised walls that blend seamlessly with their surroundings.
Identifying False Walls and Hidden Rooms
Look for bookcases with thin yellow glows along their edges – these mark active secret doors. Other clues include mismatched wall textures and faint airflow sounds. Stations often place these passages near ventilation shafts or damaged equipment clusters.
Step-by-Step Film Recovery Procedures
Start by tracking the objective on your compass. When nearing the target area:
- Scan right-side walls in large chambers
- Check for temperature shifts using thermal goggles
- Clear all enemies to access sealed rooms
The final film reel typically waits in a secured case behind the last operational door. Don’t rush – missing one hidden compartment could mean repeating the entire sweep. With practice, you’ll spot these concealments faster than sand blows across the basin.