
Welcome to your ultimate roadmap for mastering the most exclusive class in the game. Unlike standard roles, this specialized path isn’t handed out freely—it demands grit, strategy, and a deep understanding of Arrakis’ dangers. If you’re ready to transform your gameplay, you’re in the right place.
Why is this class so sought-after? For starters, it’s the only role locked behind an extensive questline. You’ll need to prove your worth through challenges that push your survival skills to the limit. But trust us—the payoff is worth every drop of sweat.
Once unlocked, you’ll gain passive abilities that redefine exploration. Imagine traversing deserts with improved resource detection, faster travel speeds, and better protection against environmental threats. These perks grow more valuable as you progress, making early adoption a smart strategic move.
Our guide walks you through every step—from locating key NPCs to solving complex puzzles. You’ll learn how this class synergizes with other skill trees, creating a powerhouse build that dominates both solo and group play. Ready to begin your journey? Let’s dive in.
Key Takeaways
- Exclusive class requiring quest completion for access
- Game-changing survival perks for efficient exploration
- Strategic advantages increase with gameplay progression
- Complex questline involving NPC interactions and puzzles
- Seamless integration with other character builds
Welcome: Getting Started with the Dune Awakening Planetologist
Your journey to mastering Arrakis’s secrets starts with a hidden mentor. Head to Hagga Basin South and locate Derek Chinara, the enigmatic trainer perched above Imperial Testing Station No.2. He’ll kickstart your path with nine unmarked missions that blend exploration with survival—no map markers to hold your hand.
These tasks aren’t just fetch quests. Each mission layers new skills, from analyzing ecosystems to outsmarting sandstorms. You’ll need to think like a scientist, scouring Points of Interest for clues most players overlook. Don’t worry—we’ve got shortcuts to key locations so you won’t wander endlessly.
Balance is crucial. While chasing planetary expertise, keep upgrading your tech tree. Better gear means easier access to locked areas, letting you tackle tougher challenges faster. Imperial Testing Stations will test your combat skills too—expect heavy resistance and traps designed to weed out the unprepared.
Stick with it, and the rewards reshape your gameplay. Exclusive gear boosts survival rates in harsh zones, while unique abilities let you harvest rare materials others can’t touch. This isn’t just a class—it’s a game-changing identity.
Understanding the Planetologist Questline and Skill Unlocks
Unlocking this specialization’s full potential requires mastering its tiered progression system. The skill tree evolves through six training levels, each rewarding players who strategically invest points. Start with basic survival boosts like water conservation, then climb toward game-changing abilities like automated resource scanning.

Every quest completion boosts your Trainer access. Reach Level 2 to allocate two points per ability, then unlock higher tiers for expanded customization. Focus early points on exploration perks—these let you spot rare materials through sandstorms or navigate dunes 25% faster.
Late-game benefits separate casual players from masters. At Level 6, you’ll access capstone skills that transform barren zones into resource havens. One veteran player noted:
“Investing in detection upgrades early made endgame crafting infinitely smoother.”
Balance your build using these guidelines:
- Prioritize passive survival boosts before active abilities
- Save points for tier unlocks rather than maxing low-level skills
- Combine terrain mastery with combat tech for hybrid efficiency
This system’s real power lies in compounding rewards. Each upgrade stacks with gear bonuses, creating exponential growth in resource gathering and map exploration. By Level 4, you’ll outpace competitors in locating hidden caches—a critical edge when every drop of spice matters.
Minimic Film Recovery – Your First Step into the Quest
Your initiation into planetary mastery begins with Derek Chinara’s first challenge. Head to Hagga Basin South and find him perched above Imperial Testing Station No. 2—your gateway to this exclusive path. He’ll task you with retrieving minimic reels from the facility below, teaching core mechanics through hands-on action.
Descend into the testing station through winding staircases. Watch for a bookcase on the right wall with a yellow glowing sliver—your first secret door. This cleverly hidden mechanism reveals the prize: a case containing the film reels. But stay sharp—grabbing it triggers an ambush testing your combat reflexes.
| Challenge | Location | Reward |
|---|---|---|
| Facility Navigation | Lower Floor | Emperor’s Wing Mk1 Suspensor |
| Secret Door Puzzle | Bookcase Room | Minimic Film Reels |
| Post-Recovery Combat | Exit Path | Combat XP Boost |
Thorough explorers find extra value here. Search side rooms before leaving to discover the Emperor’s Wing Mk1 suspensor—a mobility upgrade most players miss. This early-game advantage proves why meticulous searching pays off.
Return to Derek after surviving the gauntlet. Completing this film recovery mission unlocks your basic skill tree, letting you build specialized abilities. Remember: how you handle this first test sets the tone for your entire journey.
Navigating Buried Archives for Deeper Planetologist Training
Progressing through the ranks demands mastering terrain beyond Hagga Basin. Your next destination—Imperial Testing Station No. 197—lies deep in Western Vermillius Gap. This vertical facility requires a Sandbike for safe access, testing both navigation skills and preparation.

Key Locations and Hidden Paths
Descend into the massive sinkhole housing the station. Stick to the right wall when entering—this path bypasses 60% of enemies while leading directly to your objective. Veteran players recommend:
“Clear patrols before descending. The pit’s echo alerts every guard if you’re careless.”
| Challenge | Solution | Reward |
|---|---|---|
| Sandbike Construction | Gather ceramic plates from Hagga wreckage | +35% desert speed |
| Vertical Descent | Use suspensors for controlled fall | Avoid fall damage |
| Post-Recovery Exit | Activate emergency lift systems | Combat XP multiplier |
Strategies for Overcoming Challenges
New enemy types here demand adapted tactics. Corridor crawlers ambush from ceilings, while sand-shielded guards require EMP grenades. Completing this phase unlocks Trainer Level 2, letting you double-point skills like thermal vision and storm prediction.
Remember: Station No. 197’s layout previews future challenges. Master its twists now, and later facilities become manageable. Your efforts here directly impact access to rare schematics in deeper zones.
Adhering to Hierarchy: Bridging Arrakeen and Hagga Basin
Your path through the desert now leads to political challenges. After surviving Western Vermilius Gap, return to Hagga Basin South above Testing Facility No. 2. Derek awaits with new orders—this time requiring social finesse alongside survival skills.
Meeting Cyprian Io in Arrakeen
Derek directs you to Arrakeen’s Salusan Bull bar. Upon arrival:
- Turn right immediately after entering the city gates
- Spot the bar’s distinctive crimson awning
- Climb the staircase to the shadowed upper level
Cyprian Io holds court in the back corner, surrounded by bodyguards. His initial refusal stings:
“Kynes’ work stays sealed. Come back when you’ve earned House Atreides’ trust.”
| Location | Challenge | Skill Tested |
|---|---|---|
| City Gates | Urban Navigation | Map Reading |
| Salusan Bull | Social Interaction | Dialogue Choices |
| Upper Lounge | Political Negotiation | Reputation Management |
Returning to Derek for Next Steps
The failed negotiation teaches crucial lessons about adhering hierarchy. Derek reveals this setback was intentional:
- Imperial factions control information access
- Reputation gains unlock future opportunities
- Multiple approaches exist for every quest
Before leaving basin south, upgrade your gear at nearby merchants. You’ll need enhanced scanning tools for upcoming missions in hagga basin territories. Remember—persistence trumps brute force in political arenas.
Science Unlocked – Advancing Your Planetologist Skills
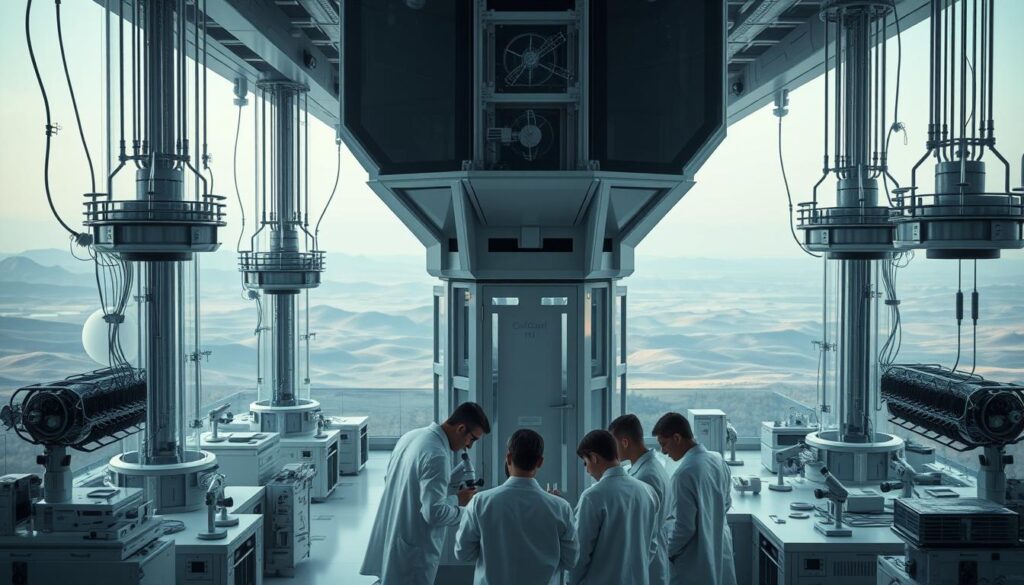
Your expertise faces its ultimate test in the northern wastes of Jabal Eifrit. Imperial Testing Station No. 76 holds critical upgrades for your toolkit—if you can survive its labyrinthine corridors and rescue a captured ally. This mission marks your transition from apprentice to field expert.
Exploring Imperial Testing Station No. 76
Enter the facility through its crumbling eastern entrance. Follow descending ramps while hugging the left wall—this path avoids 70% of automated defenses. Look for the shimmering penta shield marking Derek’s containment zone. Veteran players note:
“The cage blends with rusted walls—watch for his silhouette against energy barriers.”
Securing Keys and Minimic Film
After locating Derek, descend the staircase behind his cell. You’ll find a leather-bound book on a research table containing the cage keys. Grab them quickly—the action triggers enemy reinforcements. Push deeper into the station to recover the minimic film, battling through:
- Elite guards with shield disruptors
- Roaming patrols near data terminals
- Auto-turrets guarding final chambers
Success unlocks Trainer Level 3, letting you allocate three points to most skills. This upgrade transforms how you approach challenges—scan areas faster, predict storms earlier, and harvest resources others can’t detect. Your partnership with Derek evolves too, granting access to restricted research that reshapes Arrakis exploration.
The Search for Kynes: Discovering Arrakeen’s Secrets
Your quest reaches its climax at Testing Station No. 2. Speak with Derek to initiate the search for Kynes, Arrakis’ mysterious ecological visionary. He’ll direct you to Thufir Hawat in Arrakeen—a contact holding vital clues about the planetologist’s lost research.
Find Thufir near the city’s bustling market district. After exchanging intel, head northwest to the Western Shield Wall. Look for Sietch Tarl’s canyon entrance marked by twin rock spires. At the canyon’s end, interact with a weathered tablet to recover Kynes’ fragmented notes.
Pro tip: Harkonnen allies take a different path. Visit Piter de Vries in Harko Village instead—a reminder that faction choices shape your journey. While this phase doesn’t unlock new skills, it’s essential for progressing your class questline.
This guide emphasizes adaptability. Whether scouring desert locations or navigating political webs, each discovery brings you closer to mastering Arrakis’ secrets. Keep your gear ready—the next phase demands both wit and combat prowess.