
Ready to master the sands of Arrakis? Among the five playable classes in this survival MMO, one stands out as both mysterious and rewarding. The Planetologist isn’t just another character option – it’s a hard-earned specialization that transforms how you experience the game’s brutal desert world.
Unlike standard choices available at launch, this role demands dedication. Players must locate a hidden trainer deep in the dunes and complete a multi-stage quest. The journey pushes your combat abilities and map knowledge to the limit, taking you through dangerous testing facilities.
What makes the effort worthwhile? The class offers game-changing survival perks. From boosted resource gathering to sandstorm resistance, these skills turn the wasteland into your playground. You’ll navigate faster, collect smarter, and outlast rivals in environmental challenges.
Key Takeaways
- Exclusive class requiring desert exploration to unlock
- Survival-focused abilities enhance resource collection and travel
- Multi-stage quest involves combat and complex locations
- Passive skills provide permanent environmental advantages
- Essential for players prioritizing exploration efficiency
Introduction to Unlocking Planetologist Skills
To thrive in the desert, one must become one with the environment. The journey begins with mastering a unique specialization that rewards strategic players with unmatched survival tools. This path isn’t for casual explorers—it’s designed for those willing to push beyond basic training.
Overview of the Planetologist Class
The Planetologist class stands apart as a secondary specialization. Unlike starter roles, it becomes available only after building your primary character. Think of it as an elite toolkit for desert domination.
Core abilities focus on efficiency. You’ll move faster through dunes, gather resources quicker, and resist extreme heat. Early quests grant basic perks, but true power lies in advanced techniques. One player noted, “It’s like switching from a pocketknife to a full survival kit.”
Importance of Advanced Training
Initial quests unlock foundational skills, but expert-level abilities require dedication. The table below shows how training tiers compare:
| Skill Level | Abilities Unlocked | Key Benefits | Progression Requirement |
|---|---|---|---|
| Basic | Heat Resistance, Quick Harvest | +20% gathering speed | Complete initial trainer quest |
| Advanced | Spice Surveyor, Energy Conservation | +45% travel efficiency | Clear 3 testing stations |
| Expert | Sandstorm Navigation, Thermal Camo | 75% environmental resistance | Full questline completion |
Higher tiers remove skill point caps, letting you stack bonuses. This turns harsh zones into prime exploration areas. The difference between basic and expert training? Night and day in survival potential.
Understanding the Planetologist Questline
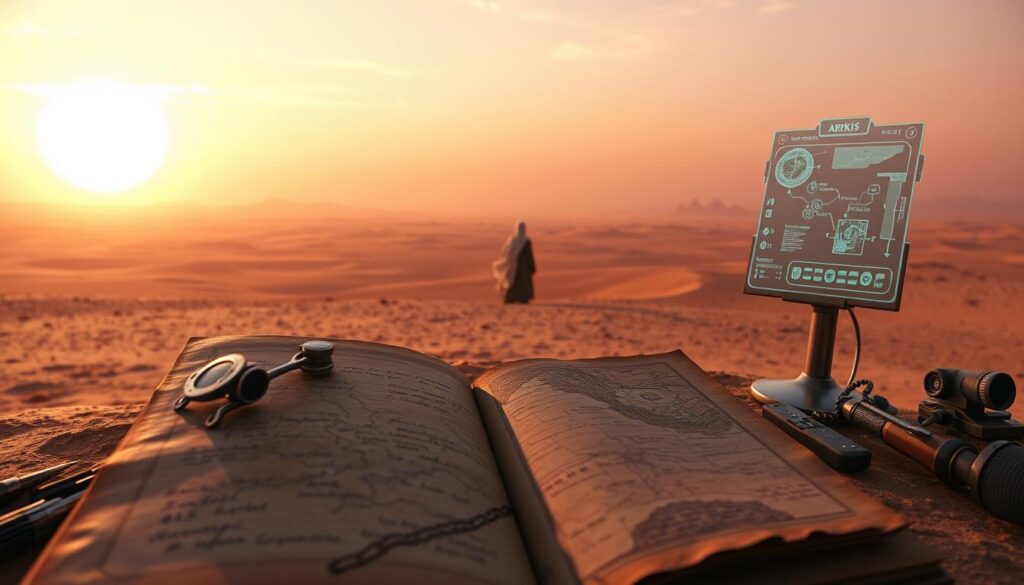
Mastering this specialization requires conquering a nine-part journey through Arrakis’ most treacherous zones. The path begins with simple recovery missions but escalates into high-stakes exploration tied to legendary desert lore.
Basic vs. Advanced Quest Steps
Your adventure starts by locating Derek Chinara, a hidden trainer near the eastern dunes. Completing his initial “Minimic Film Recovery” task grants immediate access to the core skill tree. This basic tier lets you:
- Boost resource collection speeds
- Reduce water consumption
- Unlock heat-resistant gear blueprints
Advanced stages demand precision. From unearthing buried archives to decoding Kynes’ research, each subsequent quest increases your skill point cap. One veteran player remarked, “Quest 5 changes everything – suddenly you’re solving environmental puzzles instead of just surviving.”
The optional “Assistance Needed” mission offers bonus XP but requires backtracking through hostile areas. Prioritize main objectives first – the final quests grant permanent sandstorm navigation and thermal camouflage abilities that redefine desert travel.
Dune Awakening Planetologist Unlock: Step-by-Step Process
Your journey begins at Griffin’s Reach Tradepost, where a seasoned trainer offers challenges that test true grit. Head southeast toward the Hagga Basin South region to find Derek Chinara perched above Imperial Testing Station No. 2. Look for a rocky outcrop with a winding western path – this landmark leads straight to your destination.
Initial Quest: Assistance and Minimic Film Recovery
Derek provides two starting tasks. The optional “Assistance Needed” mission rewards 150 XP and introduces his role as a mentor. For class progression, focus on the critical “Minimic Film Recovery” objective. This sends you into the facility below, where hostile forces guard precious data reels.
The testing station’s entrance lies directly under Derek’s position. Once inside, combat skills and navigation become vital. Clear multiple floors, descend spiral staircases, and watch for environmental traps. Veteran players recommend “saving stamina for the lower levels – that’s where things get spicy.”
| Quest Phase | Key Objective | Hidden Feature | Reward |
|---|---|---|---|
| Locate Trainer | Find Derek Chinara | Western path marker | Quest activation |
| Optional Task | Complete Assistance Needed | Character backstory | 150 XP |
| Main Objective | Retrieve minimic film | Glowing bookshelf door | Skill tree access |
The prize waits behind a cleverly disguised exit. In the lowest chamber, a yellow-glowing bookshelf conceals the minimic film. Grab it quickly – enemies respawn rapidly here. Returning to Derek unlocks your first survival abilities, paving the way for advanced training.
Navigating Imperial Testing Stations
Conquering Arrakis’ hidden facilities demands precision and adaptability. These underground complexes serve as the backbone of the questline, each presenting escalating challenges that test survival skills and tactical thinking.

Key Testing Station Numbers and Locations
Six primary facilities shape your progression through the desert trials. Here’s what adventurers face at each stop:
| Station Number | Location | Key Feature | Challenge |
|---|---|---|---|
| No. 2 | Hagga Basin South | Beginner-friendly layout | Learn secret room mechanics |
| No. 197 | West Vermillius Gap | Vertical entry shaft | Controlled descent techniques |
| No. 76 | Jabal Eifrit Al-janub | Buried coordinates | Precision surveying required |
| No. 29 | Northern Hagga Rift | Sheer cliff access | Fall damage prevention |
| No. 71 & 163 | The O’odham | Multi-level complexes | Full facility clearance |
Early stations teach core mechanics through manageable layouts. No. 197’s gaping entrance requires careful rope work, while No. 76 demands map-reading patience. Veteran players recommend “always packing extra hydration packs before tackling The O’odham duo” – these twin facilities push combat endurance to its limits.
Patterns emerge across locations: expect respawning enemies near data caches and pressure-sensitive doors in later stages. Each victory unlocks deeper environmental mastery, preparing you for the ultimate desert challenges.
Key Locations and Trainer Encounters
Tracking expert mentors across shifting sands becomes a survival skill itself. Veteran guides hide in unexpected spots, requiring sharp eyes and sharper map-reading abilities. Finding them means decoding environmental clues and mastering faction-specific pathways.
Meeting Derek Chinara and Other Trainers
The nomadic Derek Chinara appears at six critical locations, each revealing new challenges. At Testing Station No. 2, he camps above the facility’s entrance – your main reporting hub. But later quests see him trapped in No. 76’s cage or briefing teams at No. 197’s gaping pit.
Beyond Derek, faction choices matter. Atreides loyalists find Thufir Hawat in Arakeen’s sunbaked ruins, while Harkonnen players meet Piter de Vries in Harko Village’s shadowy alleys. Don’t miss Cyprian Io sipping spice coffee upstairs at Arakeen’s Salusan Bull bar – his bodyguarded corner holds vital intel.
Recognizing Landmark Structures and Entrances
Each testing station flaunts unique identifiers. No. 29’s cliffside entrance sports jagged rock teeth, while No. 71 glows with blue hazard stripes. Watch for:
- Flickering orange beacons near buried hatches
- Distinctive rock formations shaped like sandworm jaws
- Rusted imperial crests marking abandoned outposts
One explorer shared, “The map comes alive when you learn these patterns – suddenly you’re reading the desert like a native.” Stations No. 163 and 76 use cracked dome roofs as visual breadcrumbs, helping players reach objectives faster during sandstorms.
Strategies for Retrieving Minimic Film Records
Discovering these hidden data reels transforms exploration into an art form. The compass becomes your best friend here – when tracking the quest, a glowing marker pinpoints minimic film locations. But reaching them? That’s where skill meets strategy.
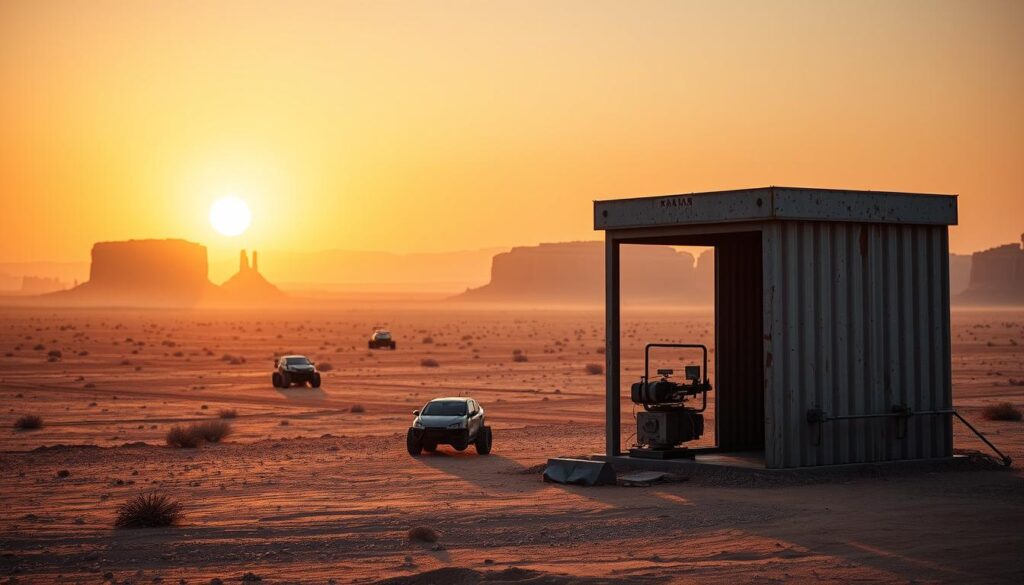
Testing Station No. 197 offers the simplest path. Pass through the green door near the entrance and swing left. You’ll spot the film tucked behind a vent panel. “It’s like finding cash in a couch cushion,” one player joked about this straightforward recovery.
Station No. 76 demands sharper instincts. Look for glass-walled chambers on the left side after climbing metal stairs. The prize hides behind a false wall in the room’s back corner – watch for faint cracks in the panels. Clear enemies first, or risk getting swarmed mid-search.
Early-game players thrive at Station No. 71. Hug the left wall from the start, and take every branching path westward. The film waits in a side room marked by flickering ceiling lights. Veteran explorers recommend “scanning walls for color shifts” – hidden doors often show slight texture differences.
Three rules guarantee success: eliminate threats before investigating, methodically check wall surfaces, and trust the compass. With practice, spotting secret rooms becomes second nature, turning arduous hunts into efficient treasure grabs.
Handling Hidden Rooms and Advanced Challenges
The real test begins when maps stop showing markers. Hidden rooms in testing stations demand sharp observation – look for cracked walls, flickering lights, or uneven sand patterns. Veterans recommend scanning walls for inconsistencies while listening for hollow echoes behind surfaces.
Advanced challenges often involve environmental traps. Pressure plates might trigger sand floods, while false floors hide deadly drops. Keep a toolkit handy: throw rocks to test suspicious areas, and always watch for ventilation shafts offering alternative routes.
Three strategies separate survivors from casualties: 1) Clear enemies before investigating anomalies 2) Memorize respawn timers near loot zones 3) Use survival skills like thermal vision to spot heat-sealed doors. Elite players share a golden rule: “If a room feels too empty, you’re missing something.”
Mastering these techniques turns brutal obstacles into rewarding shortcuts. Each conquered challenge deepens your understanding of the desert’s secrets – and your value to fellow explorers.