
Discovering hidden potential in Dune: Awakening requires more than basic training. While four starter classes offer immediate access, the game’s most valuable specialization demands dedication. The elite survivalist path remains locked until players complete specific desert trials.
This exclusive specialization focuses on thriving in extreme environments. Players gain tools for efficient resource collection, hazard avoidance, and long-distance travel across shifting sands. The progression system features six tiers of abilities, each building upon the last to transform your desert survival capabilities.
Accessing these skills involves locating nomadic trainers and completing multi-stage challenges. Successful candidates unlock revolutionary gear like climate-adaptive suits and terrain analysis tools. These advantages prove essential for explorers seeking rare materials or hidden locations.
Key Takeaways
- Requires completing special desert quests unavailable to standard classes
- Focuses on environmental mastery and survival efficiency
- Features six progressive ability tiers with compounding benefits
- Grants exclusive equipment for enhanced exploration
- Provides critical advantages for resource gathering and navigation
Introduction: Unlocking the Planetologist Journey
The journey to mastering Arrakis’s secrets starts with a single quest near Hagga Basin South. Your first task? Locate Derek Chinara, the enigmatic mentor stationed above Imperial Testing Station No.2. Unlike standard class options, this path demands commitment from the very beginning.
Chinara’s initial assignment unlocks basic survival techniques, but true mastery requires completing nine interconnected missions. These challenges test your ability to navigate hostile environments, solve complex puzzles, and outmaneuver hidden dangers across multiple regions. Each completed objective reveals new layers of the game’s ecological storytelling.
Prepare for constant travel between testing stations and remote desert outposts. Stockpile hydration packs and upgrade your flight systems early – backtracking becomes frequent as missions escalate in difficulty. Combat encounters intensify as you progress, blending environmental threats with tactical skirmishes.
The trainer system here differs from other roles. Chinara doesn’t just dispense skills – he sends you on reconnaissance missions that reshape your understanding of sand dynamics and resource patterns. Successful explorers gain priority access to rare schematics, including terrain scanners that reveal hidden spice deposits.
Remember: This questline isn’t about quick unlocks. It’s designed for players who want to transform from desert wanderers into true masters of Arrakis’s unforgiving ecosystems.
Overview of the Planetologist Class and Its Significance
Mastering Arrakis’s harsh environment requires more than basic survival instincts—it demands specialized expertise. The Planetologist class turns barren landscapes into opportunities through scientific mastery and adaptive techniques. Unlike standard roles, this specialization focuses on turning environmental threats into strategic advantages.

Survivalist abilities here go beyond simple stat boosts. You’ll gain passive upgrades that slash water consumption by 30% and boost movement speed across shifting sands. These skills transform tedious treks into efficient expeditions, letting you cover more ground while conserving vital resources.
The skill tree shines in material gathering. Specialized nodes increase rare resource detection range and yield percentages, making every harvest count. Advanced tiers unlock climate-resistant gear that protects against sandstorms and extreme heat—critical for reaching hidden areas.
What truly sets this path apart? Exclusive scanning tools that reveal underground spice veins and atmospheric data. “A Planetologist doesn’t fight the desert—they become its ally,” one trainer remarks. These advantages create perfect synergy with combat-focused classes, letting hybrid builds thrive where others struggle.
Progression rewards curiosity. Each discovery unlocks deeper environmental insights, from predicting sandworm movements to optimizing shelter placement. This class isn’t just about surviving Arrakis—it’s about rewriting the rules of engagement with its ecosystem.
Dune Awakening Planetologist Level 2: Core Concepts
Breaking through the first major progression barrier transforms how you interact with Arrakis’s challenges. This stage grants access to dual skill allocation, letting you stack complementary upgrades for enhanced survival tactics. Your journey now centers on mastering facility navigation through the “Buried Archives” quest in Western Vermillius Gap.
Imperial Testing Station No. 197 becomes your training ground for essential techniques. Here’s what you’ll master:
| Skill Type | Key Benefit | Quest Requirement |
|---|---|---|
| Secret Detection | Spot hidden passages 40% faster | Complete Archive Wing |
| Hazard Management | Reduce environmental damage by 25% | Clear Ventilation Sector |
| Inventory Optimization | Carry 3 extra resource slots | Retrieve 5 minimic reels |
Systematic exploration proves vital in these facilities. Rushing triggers security protocols, while thorough searching reveals blueprint fragments and hydration caches. Trainers emphasize “three-step clearing” – scan, secure, salvage – as the golden rule for testing station success.
These core skills create a foundation for advanced techniques. The minimic film recovery process taught here becomes standard procedure across all imperial facilities. Mastery now means fewer setbacks when facing deadlier complexes later.
Exploring Key Imperial Testing Stations
Imperial facilities hold the keys to mastering Arrakis’s deadliest regions. These sprawling complexes test explorers through clever design and environmental hazards. Let’s break down two critical locations that shape your progression.

Imperial Testing Station No. 197 Insights
Found on the Western Vermillius Gap’s southern edge, this station teaches vertical navigation. The massive entrance hole forces careful descent – miss your footing and you’ll alert security drones. Remember: The ramp near Derek Chinara actually leads out, not in.
Smart explorers head northwest through wide rock tunnels. This path bypasses 60% of patrols while revealing hidden hydration caches. “The real treasure isn’t the minimic film,” one trainer notes. “It’s learning to read imperial architecture.”
Highlights from Testing Station No. 76
Jabal Eifrit’s central sector houses this puzzle-focused facility. Three key lessons await:
- Caged mechanics: Rescue NPCs to unlock vital shortcuts
- Multi-level scanning: Glass rooms hide ceiling vents with rare schematics
- Thermal management: Station layouts change during sandstorm cycles
Both stations feature evolving layouts that prepare you for late-game challenges. Testing Station No. 197 emphasizes spatial awareness, while No. 76 tests adaptive problem-solving. Master these, and deeper imperial complexes become conquerable.
Navigating the Map and Flight Options
Efficient travel across Arrakis separates novice explorers from true desert masters. Whether using public transport or personal aircraft, smart movement strategies save time and resources during critical missions.
How to Fly to Arakeen and Harko Village
Reaching major settlements requires understanding flight mechanics. The Ornithopter system offers two paths:
| Option | Cost | Key Advantage |
|---|---|---|
| Personal Aircraft | Free | Unlimited access to remote areas |
| Public Transport | 2,500 Solari | Instant access from outposts |
Arakeen serves as the main hub for meeting essential contacts like Cyprian Io at Salusan Bull bar. Harko Village provides faction-specific services, ideal for players aligned with House Harkonnen. Both locations offer vital restocking points between desert expeditions.
Using Map Markers for Efficient Navigation
Mastering the Survey Launcher transforms exploration. This tool works best when:
- Scanning large regions like Western Vermillius Gap
- Pinpointing testing stations behind sand ridges
- Marking safe routes around storm zones
Combine probes with landmark navigation for maximum efficiency. Rock formations and abandoned equipment often signal nearby points of interest. Smart travelers save flight routes between frequently visited locations, cutting backtracking time by 40%.
Gathering Minimic Film Records: Tips & Tricks
Finding these rare archives demands sharp eyes and smarter strategies. While your compass marks general locations, successful recovery hinges on understanding testing station design quirks.
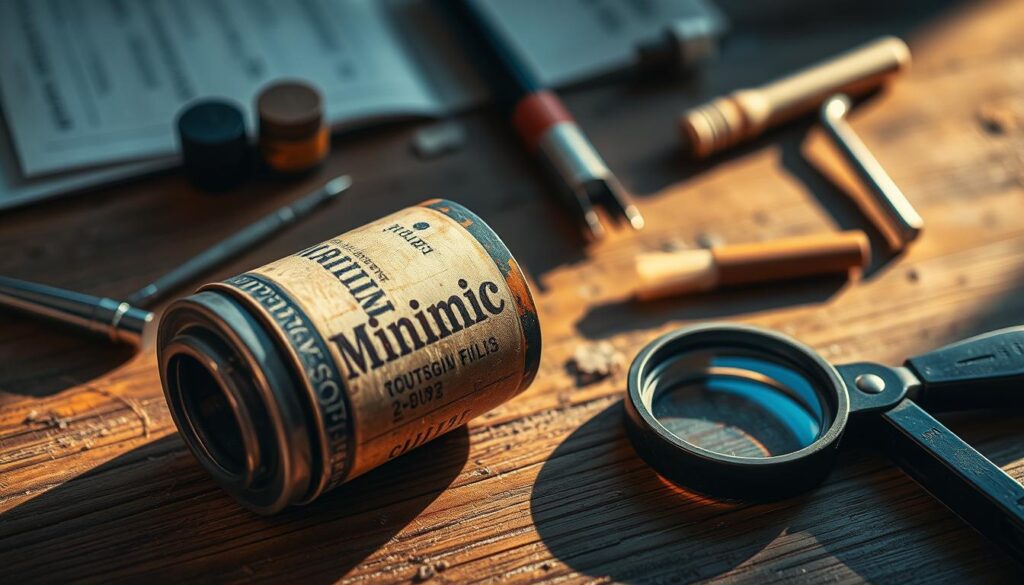
Locating Hidden Film Records Behind Secret Walls
Most minimic film hides behind walls that look solid. Watch for surfaces with mismatched textures or odd protrusions – these often conceal pressure plates. “The best hiding spots mock your first glance,” says veteran explorer Mara Veldt.
| Search Approach | Success Rate | Time Investment |
|---|---|---|
| Wall Scanning | 85% | High |
| Compass Tracking | 60% | Medium |
| Pattern Recognition | 92% | Low (After Practice) |
Strategies for Quick Retrieval in Stations
Seasoned players use the three-sweep method:
- Clear visible rooms for supplies
- Scan walls while moving clockwise
- Check ceiling vents and floor grates
Rushing causes missed opportunities – testing stations often place film recovery points near “exit” markers. Trainers emphasize systematic searching over speed. Those who master wall patterns can find minimic film 40% faster than newcomers.
“True efficiency comes from knowing where not to look first.”
Remember: Facilities teach through frustration. Each hidden film strengthens your ability to find minimic archives in later challenges. Patience here pays dividends across all exploration activities.
Interacting with Key NPCs and Trainers
Your survival on Arrakis depends on who you know as much as what you know. Strategic relationships with mentors and faction leaders unlock critical opportunities in hostile territories.
Derek Chinara’s Role in Your Progression
Derek Chinara starts as your survival instructor near Hagga Basin South. This seasoned trainer teaches desert navigation through hands-on challenges. As missions progress, he relocates between testing stations – always keeping you alert to shifting environmental threats.
Your partnership evolves beyond basic lessons. Later quests require coordinating sandstorm evasion tactics and decoding imperial research together. His moving locations test adaptability, rewarding players who master dynamic navigation.
Meeting Cyprian Io and Thufir Hawat
Find Cyprian Io in Arakeen’s bustling Salusan Bull bar – look for the umbrella-shaded table guarded by armored personnel. This contact shares faction-specific intel critical for adhering hierarchy protocols during delicate negotiations.
Back in the city, Mentat Thufir Hawat bridges science and politics. His insights into Kynes’ research help decode imperial facilities. Remember: Interactions follow strict timing rules – arriving late to meetings can reset entire quest chains.
The bar serves multiple purposes beyond drinks. Upper levels hide informants offering shortcuts through testing stations. Master adhering hierarchy mechanics here to access restricted areas and rare blueprints.