
Survival in Dune Awakening hinges on mastering high-tier resources, and aluminum stands as a game-changer for dedicated players. This fourth-tier material unlocks powerful weapons, advanced armor, and critical vehicle blueprints like the Ornithopter. Unlike basic metals such as iron, aluminum demands strategic planning and specialized tools to harvest efficiently.
Progressing to this level marks a major milestone. Crafting tier-four gear requires not just effort, but also knowledge of harsh desert environments. The challenges are steep, but the rewards redefine your gameplay experience.
This guide simplifies the process of locating and gathering aluminum. You’ll learn prime mining zones, essential gear upgrades, and time-saving strategies used by top players. We’ll also cover how to avoid common pitfalls in resource management.
Key Takeaways
- Aluminum unlocks tier-four crafting options, including vehicles and high-level gear
- Specialized equipment and map knowledge are crucial for efficient harvesting
- Resource nodes appear in specific dangerous zones across the desert
- Advanced gathering techniques prevent wasted time and resources
- Proper preparation ensures steady progression through endgame content
Understanding the Role of Aluminum in Dune: Awakening
Progressing through Dune: Awakening’s unforgiving landscapes demands strategic resource management. Aluminum emerges as the cornerstone for unlocking endgame capabilities, transforming how you interact with Arrakis’s challenges. This tier-four material isn’t just an upgrade—it’s a complete gameplay revolution.
Why Aluminum Is Vital for Advancement
Securing this resource grants access to weapons that dominate combat scenarios. Imagine plasma rifles melting through enemy shields or monomolecular blades slicing armored foes. These tools reshape both exploration and player-versus-player dynamics.
Protective gear also leaps forward. Full-environment suits crafted with aluminum alloys withstand sandstorms that destroy lower-tier equipment. You’ll venture deeper into spice-rich zones previously deemed inaccessible.
Aluminum’s Use in Crafting Tools and Vehicles
The real game-changer? Building your first Ornithopter. This vehicle blueprint requires precise aluminum components, enabling aerial navigation across deadly dunes. Ground transports benefit too—reinforced chassis parts handle jagged rock formations with ease.
Upgraded mining tools slash gathering times by 40%, letting you stockpile resources faster. Smart players prioritize these enhancements to maintain dominance in Arrakis’s evolving meta. Every aluminum investment compounds your survival odds in this merciless world.
Where to Get Aluminum Dune Awakening: Essential Mining Tips
Mastering tier-four resources requires precision gear and map knowledge. Three critical tools unlock access to high-value deposits: the Cutterray Mk3, Power Pack Mk3, and Suspensor Belt. These work together to overcome Arrakis’s brutal terrain and mineral hardness.

Non-Negotiable Equipment Checklist
The Cutterray Mk3 slices through tough deposits efficiently. Pair it with a Power Pack Mk3 to prevent mid-mining energy shortages. Vertical cliffs become manageable with a Suspensor Belt’s gravity-defying lift.
Prime Harvesting Zones Revealed
Head northeast past Vermillius Gap for rich veins. New miners should practice on Jabal Eifrit’s flat spires before tackling advanced areas. True veterans target the Eastern Shield Wall’s labyrinthine valleys.
| Location | Node Density | Accessibility |
|---|---|---|
| Beyond Vermillius Gap | Medium | Moderate |
| Jabal Eifrit Spires | Low | High |
| Eastern Shield Wall | High | Challenging |
Each node yields 40 units with proper tools. Upgrade to advanced cutterrays later for 60+ units per deposit. Time your runs between sandstorms for safer harvesting.
Maximizing Efficient Aluminum Farming Routes
Strategic resource collection becomes effortless when you master Arrakis’s geography. Ironwatch Point serves as the perfect launchpad for systematic aluminum ore farming, offering clear landmarks and proximity to high-yield zones.
Optimized Routes Starting at Ironwatch Point
Begin your run by fueling a buggy equipped with a Mining Ray Mark 4. Head north along crimson cliff faces where metallic deposits shimmer under twin suns. This 15-minute circuit nets 2,000 units – enough to fill standard vehicle storage completely.
Effective Use of Buggy and Mining Ray for Repeat Runs
The mounted laser lets you harvest while driving, saving precious time during sandstorm windows. Experienced operators complete three full circuits per hour, using the Eastern Shield’s steep drop-offs for rapid returns to starting positions.
Memorize node patterns along winding rock formations to shave minutes off subsequent trips. This method transforms tedious gathering into a rhythmic farming routine that fuels endgame progression reliably.
Building a Base for Optimal Aluminum Refinement
Transforming raw materials into battle-ready gear demands smart infrastructure. Your base becomes the engine driving aluminum production, requiring careful planning around two critical systems: refining capacity and water supply.
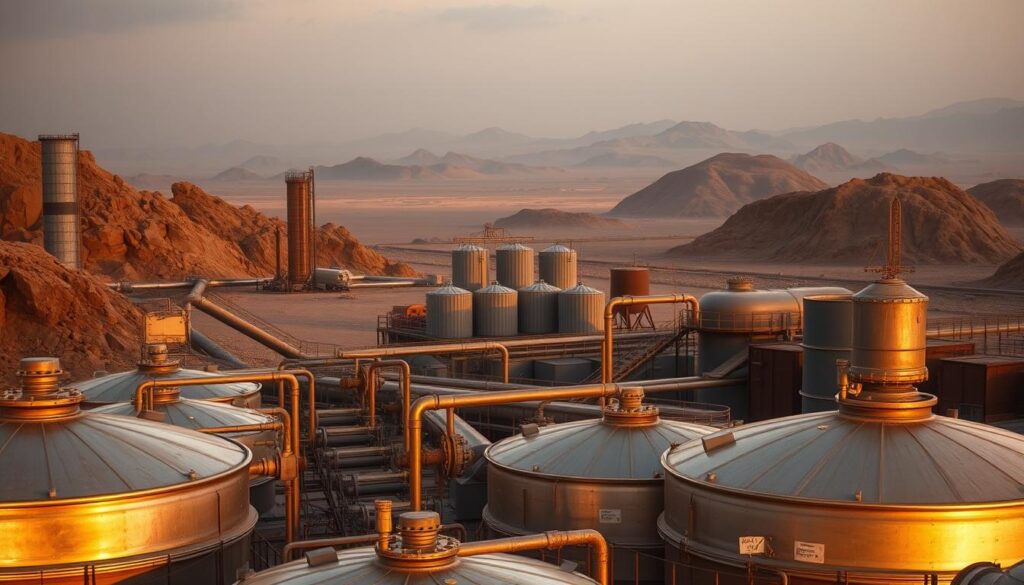
Setting Up a Medium Ore Refinery
Constructing this facility requires 125 steel ingots and 60 cobalt paste. Once operational, it converts 7 aluminum ore and 200 water into one refined bar. Position your medium ore refinery between storage containers and water sources to minimize hauling time.
Seasoned crafters recommend building multiple refineries once resources allow. This lets you process several batches simultaneously while avoiding queue delays during peak crafting sessions.
Water Collection and Storage Strategies
With each bar needing 200 units, water dictates your production speed. Install three windtraps minimum – these funnel moisture from Arrakis’ air into tanks automatically. Pair them with large underground cisterns holding 5,000+ units for uninterrupted refining.
Pro tip: Bases near spice harvester wrecks access NPC blood sources. While requiring active collection, these yield bonus water through purification – perfect for supplementing automated systems during heavy crafting marathons.
Balance remains key. Expand storage capacity as you upgrade refineries, ensuring neither ore nor water shortages stall your progress. Smart builders create dedicated processing hubs near mining routes, slashing transport time for bulk materials.
Conclusion
Securing high-tier materials reshapes your approach to Arrakis’ challenges. Those who master aluminum farming unlock game-changing gear and vehicles, turning harsh landscapes into opportunities. The journey from basic gathering to strategic harvesting tests your problem-solving skills, but rewards with unmatched crafting potential.
Smart players build reliable supply chains using proven routes like the Eastern Shield Wall. Upgraded equipment and efficient bases turn raw ore into combat-ready items faster. This foundation becomes crucial as you tackle advanced missions requiring bulk resources.
Remember – refining your techniques matters more than rushed collection. Each sandstorm-surviving run sharpens your farming instincts. Experiment with node patterns and storage setups to discover personal optimizations beyond standard strategies.
Patience pays dividends here. Consistent effort builds stockpiles that fuel endgame progression naturally. The day you streamline your operations marks a new chapter in surviving Arrakis’ evolving threats. Keep adapting, and the desert’s riches will follow.