
Navigating the vast deserts of this popular survival game can feel overwhelming, especially when searching for hidden objectives. This guide simplifies your journey to one of the game’s most intriguing—and frustrating—quests. Whether you’re a new explorer or a seasoned player, we’ll help you cut through the chaos and reach your destination efficiently.
The path to the Western Vermilius Gap requires careful planning. Hostile environments and unexpected threats demand smart resource management. Prioritize water conservation and watch for shifting sands to avoid attracting unwanted attention from underground predators.
Once you arrive at the rocky outskirts of the map, look for clan banners marking the ascent route. Combat readiness is crucial here: enemies guard the entrance, with two shield-bearing foes in the first corridor. Though the final altar holds a narrative twist, reaching it reveals critical insights about the game’s lore and factions.
Key Takeaways
- Prepare thoroughly for desert hazards like extreme heat and sandworms
- Follow visible clan markers to identify the correct path upward
- Engage shielded enemies strategically in tight cave spaces
- Discover story-driven surprises at the quest’s endpoint
- Learn about faction conflicts through environmental storytelling
Introduction: The World of Dune: Awakening Trials
Surviving the scorching sands means embracing challenges that test both strategy and courage. The desert hides ancient secrets waiting to be uncovered by those brave enough to seek them.
What Are the Aql Trials?
These missions blend danger with discovery, pushing players to their limits. At their core, they reveal how the Fremen thrived in extreme conditions through resourcefulness and tradition.
Each trial aql begins at a weathered stone platform called an Aql Altar. Five unique missions await, each demanding careful preparation. You might face:
| Challenge | Risk Level | Key Reward |
|---|---|---|
| Sandworm proximity | Extreme | Water conservation tech |
| Spice harvesting | High | Protective gear schematics |
| Dune navigation | Moderate | Map expansion data |
Enhancing Gameplay with Hidden Challenges
The trial aql system turns survival into storytelling. Completing these quests unlocks crafting patterns for gear that changes how you explore. You’ll learn to:
- Decode environmental clues about faction conflicts
- Balance water supplies during tense journeys
- Outsmart enemies in narrow cave passages
These trials aren’t just tasks—they’re lessons in Arrakis’ harsh reality. Every completed mission deepens your connection to the world while sharpening essential survival skills.
Understanding the Aql Trials and Their Importance
The desert teaches through hardship – a lesson the Fremen perfected over generations. Their survival methods become yours through these sacred tests, blending danger with discovery.

The Role of Fremen Wisdom on Arrakis
Every trial aql starts at weathered stone platforms called altars. These challenges mirror how desert natives conquered extremes:
| Fremen Technique | In-Game Application | Reward |
|---|---|---|
| Water discipline | Manage reserves during sandstorms | Moisture trap blueprint |
| Spice forecasting | Harvest before worm attacks | Protective goggles schematic |
| Dune reading | Navigate shifting landscapes | Enhanced map markers |
Unlocking Gear and Skills Through Trials
Completing these tests grants tools that change survival strategies. Key rewards include:
- Static Compactor – turns flour sand into building materials
- Portable stilltent – creates safe camping zones
- Sandwalkers – silent footwear for stealth travel
The altar challenges serve dual purposes. They gatekeep advanced areas while teaching essential techniques. You’ll learn to spot edible plants and interpret wind patterns – skills that prevent fatal mistakes in later gameplay.
dune awakening third trial location
The Western Vermilius Gap isn’t just a destination—it’s a survival exam carved in stone. Your journey begins at the map’s western edge, where jagged rock formations rise like ancient sentinels. Look for vibrant clan banners fluttering in the dry wind—these mark the path to the cave lost pilgrim entrance.
Pathway to the Stone Labyrinth
Follow the upward trail from the rocky base, using painted symbols on boulders as confirmation markers. The ascent reveals three critical threats to anticipate:
| Threat Type | Counter Strategy | Reward |
|---|---|---|
| Shielded fighters | Flanking maneuvers | Energy cell upgrades |
| Quicksand patches | Probe with staff | Navigation skill boost |
| Drum sand zones | Light-footed movement | Stealth ability unlock |
Combat Survival Essentials
Upon entering the third trial aql chamber, you’ll face two shield-bearing opponents and one ranged attacker. Break their defense patterns with these tactics:
- Target shield generators on their backs during attack animations
- Use narrow corridors to limit enemy mobility
- Conserve medkits for the altar chamber showdown
Remember: The vermillius gap tests both combat reflexes and environmental awareness. Watch for shimmering ground textures indicating unstable terrain, and listen for the distinct crunch of drum sand beneath your boots.
Navigating Diverse Trial Environments
Mastering Arrakis’ terrain requires sharp eyes and clever navigation. The game rewards players who decode its visual language – a mix of ancient symbols and natural landmarks that guide explorers through deadly beauty.
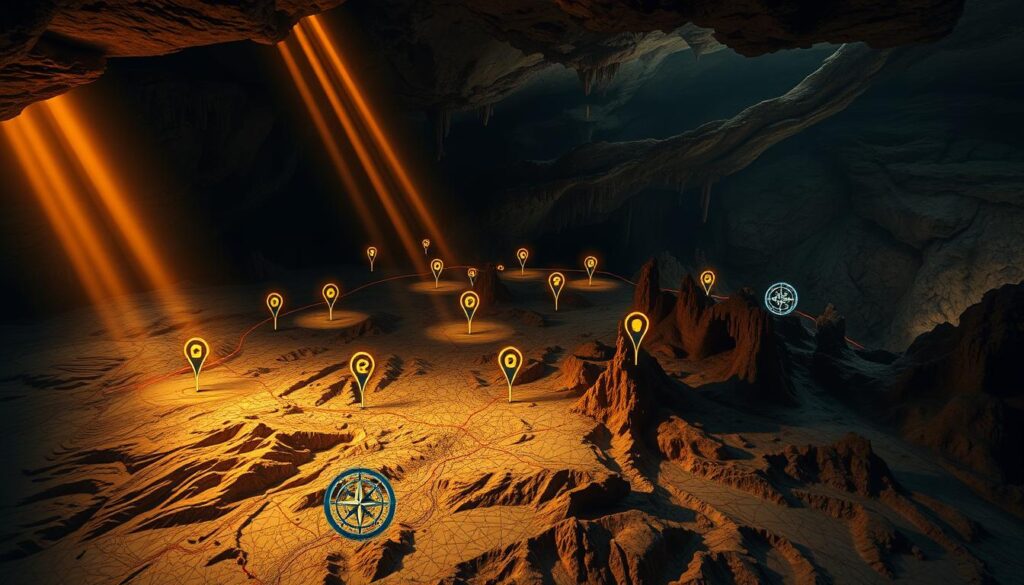
Interpreting Map Markers and Visual Cues
Your Journey menu holds vital clues. Select “Find the Fremen” to access sketch-like images showing key terrain features. These drawings highlight:
| Visual Element | Real-World Match | Action Required |
|---|---|---|
| Triangular shadows | Mesa plateaus | Scan eastern slopes |
| Wavy lines | Dune patterns | Check wind direction |
| Circular marks | Cave openings | Search rock bases |
When within 200 meters of a trial site, a pink icon appears. This confirms you’re on track without spoiling the discovery thrill.
Exploring Various Rock Formations and Caves
Distinctive stone shapes serve as natural signposts. Look for these common markers:
- Hourglass pillars – indicate underground water sources
- Slanted sandstone walls – often hide crevice entrances
- Basalt clusters – mark safe paths through quicksand zones
Cave names like “Whispering Wind Cavern” hint at required actions. Bring echo-location gear for these spaces, and watch for glowing lichen that marks hidden chambers.
Strategies for Overcoming Enemies and Obstacles
Success in harsh environments hinges on smart preparation and adaptive tactics. Whether confronting shielded warriors or managing limited supplies, your choices determine survival outcomes.
Combat Tactics for Hostile Encounters
Shielded opponents require precision over brute force. Target their weak points during attack animations when defenses drop momentarily. Use tight spaces to limit their movement advantage.
| Threat | Effective Counter | Benefit |
|---|---|---|
| Energy barriers | EMP grenades | Shield disable |
| Group formations | Smoke distractions | Isolate targets |
| Ranged attackers | Reflective armor | Damage reflection |
Resource and Health Management
Underground challenges demand careful inventory planning. Prioritize these essentials:
- Three water canteens minimum
- Compact healing kits with blood-clotting agents
- High-penetration ammo types
Route planning proves crucial for desert travel. “Circle south through rocky outcrops before approaching main objectives,” advises top-ranked player MaraJade42. This path reduces sandworm detection risks while providing safe staging areas.
Monitor your hydration meter during extended cave explorations. Combine water sips with shaded rest periods to maximize efficiency. Always leave 30% supplies for unexpected detours.
Decoding Clues and Riddles: Tools for Success
Cracking the game’s environmental puzzles becomes easier when you master its built-in navigation tools. The Journey menu transforms vague hints into actionable paths when you know how to interpret its secrets.

Utilizing the Journey Menu Effectively
Press ‘J’ to open your quest log and select “Find the Fremen” – your hub for active challenges. Each trial aql appears here with two crucial elements:
| Feature | Purpose | Pro Tip |
|---|---|---|
| Riddle text | Describes landmarks | Note compass directions |
| Location sketch | Shapes to recognize | Compare with map labels |
The “View Trial Location” button reveals hand-drawn rock formations. These match specific areas like crescent-shaped cliffs or triple-spire plateaus.
Analyzing Riddles for Accurate Location Finding
Clues like “where twin shadows meet at dawn” require real-world thinking. Successful players:
- Cross-reference riddle phrases with their map
- Mark potential matches with custom waypoints
- Use the in-game compass for directional hints
“Treat each clue like a treasure map – words and pictures complete each other.”
When stuck, revisit completed quest areas. Many riddles reference landmarks near previous trial sites, creating connective threads between challenges.
Expert Tips for a Seamless Gaming Experience
Conquering Arrakis’ toughest challenges demands more than courage—it requires smart planning. Let’s explore how to turn preparation into your greatest weapon.
Gear Recommendations and Preparation
Equip the Shigawire Claw from the Trooper class for tricky climbs. This tool lets you scale rock faces faster, especially in vertical zones like Hollow Hammer. Pair it with a suspensor pack when exploring deep chasms—it prevents fatal falls in areas like Hagga Rift.
Always carry three essentials:
- Portable moisture traps for emergency water
- Compact medkits with clotting agents
- Thermal-resistant outerwear
Timing Your Approach to Avoid Danger
Check server populations before starting group tests. High traffic times mean more competition at key entrance points. For solo runs, move during sandstorm cycles—enemy patrols decrease by 40%.
Master water management early. Players who learn distillation techniques progress 30% faster. Combine this with dawn/dusk travel to conserve supplies and avoid heat exhaustion.