
Navigating the sands of Arrakis just got more exciting. This guide reveals how to conquer one of the most intriguing challenges in the latest survival game. Hidden within the Eastern Vermillius Gap lies a mysterious cave known as The Deep Struggle. To find it, adventurers must decode a poetic riddle referencing Mirzabah’s “great hammer” and the “shattered teeth of the gods.”
Success here rewards players with the Static Compactor—a game-changing tool for harvesting rare materials like Flour Sand and Spice. But getting there isn’t easy. The terrain tests your survival skills, from avoiding sandworm attacks to managing scarce resources. We’ll show you how to interpret the clues and pinpoint the exact spot where the desert hides its secrets.
Key Takeaways
- The trial’s entrance is nestled in the Eastern Vermillius Gap, inside a cave system
- Solve the riddle by focusing on landmarks like Mirzabah’s hammer and rock formations
- Stay alert for environmental dangers, including sudden sandworm encounters
- The Static Compactor schematic transforms your resource-gathering capabilities
- Mastering this challenge unlocks deeper Fremen lore and survival tactics
Ready to prove your worth? Let’s break down every step to conquer this test and claim your desert victory.
Introduction to Dune Awakening Trials
The desert holds secrets, and the Trials of Aql are your key to unlocking them. These immersive quests blend survival challenges with rich storytelling, revealing how the Fremen thrive in Arrakis’ harshest regions. Complete them to earn schematics for advanced gear like moisture harvesters and spice-resistant armor.
Five unique trials await, each tied to an Aql Altar hidden across the map. Locate these starting points through the Journey menu’s “Find the Fremen” tab. But don’t expect GPS markers—you’ll need to solve poetic riddles referencing rock formations and ancient battles.
Why risk sandworm attacks and water shortages? The rewards transform your gameplay:
- Unlock blueprints for tools that harvest rare materials 40% faster
- Gain permanent survival buffs against extreme heat
- Access hidden Fremen settlements with exclusive traders
New players often overlook how these games within the game teach essential strategies. One early trial aql teaches water conservation methods that double as combat tactics against rival factions. Another reveals how to “read” sand patterns to predict worm movements.
Pro tip: Complete your first trial aql before leaving the starter zone. The Static Compactor blueprint you earn lets you process Flour Sand into building materials—critical for establishing desert outposts.
Understanding the Fremen Trials of Aql
Unlocking the mysteries of Arrakis requires more than courage—it demands wisdom. The Trials of Aql challenge players to think like the desert’s native survivors, blending ancient knowledge with modern strategy.

The Role of Aql Altars
These stone platforms hum with energy, acting as bridges between worlds. When you activate one, spice vapors trigger visions that drop you into simulated survival scenarios. “The altar isn’t just a doorway—it’s a teacher,” says one veteran player. Each test mirrors real desert dangers, from sudden sandstorms to scarce water supplies.
Deciphering Riddle-Based Clues
Your Journey menu shows painted images of rocky outcrops alongside lines like “Where the sky’s tears carved stone”. Match these to actual landmarks using three steps:
- Study mural patterns against your map’s terrain
- Connect poetic phrases to geological features
- Scout areas during different daylight hours
Early clues often point to the Eastern Vermillius Gap, but later riddles get trickier. One trial aql mentions “the way of the scorpion’s shadow”—a nod to rock formations shaped like arachnids at dawn.
Pro tip: Screenshot the images and sketch possible routes before heading out. This trial aql approach saves hours of backtracking across dunes.
dune awakening second trial location
Cracking the code to Arrakis’ challenges becomes thrilling when you reach the eastern Vermillius Gap. Here lies The Deep Struggle cave—your gateway to advancing through the survival game’s toughest tests. The cryptic riddle clues point explorers to “para-southeast of the great hammer,” a rock formation resembling Mirzabah’s legendary tool.
Look northwest of Hagga Basin’s border for jagged stone pillars locals call “the gods’ shattered teeth.” Between these natural skyscrapers lies a narrow crevice—your entry point. Veteran players recommend scouting near the Wreck of the Actaeon at dawn, when shadows highlight the cave’s camouflaged mouth.
Why risk this treacherous area? The region teems with hostile scavengers and sudden sand collapses. One wrong step could drain your water reserves or attract unwanted attention from below the dunes. Pro tip: Pack extra stillsuits and thermal goggles before venturing into this unstable terrain.
Success here isn’t just about finding the trial location—it’s about mastering the art of desert navigation. Those who decipher the clues gain more than bragging rights; they unlock deeper understanding of Arrakis’ secrets and prepare for even greater challenges ahead.
Reaching the Deep Struggle Cave
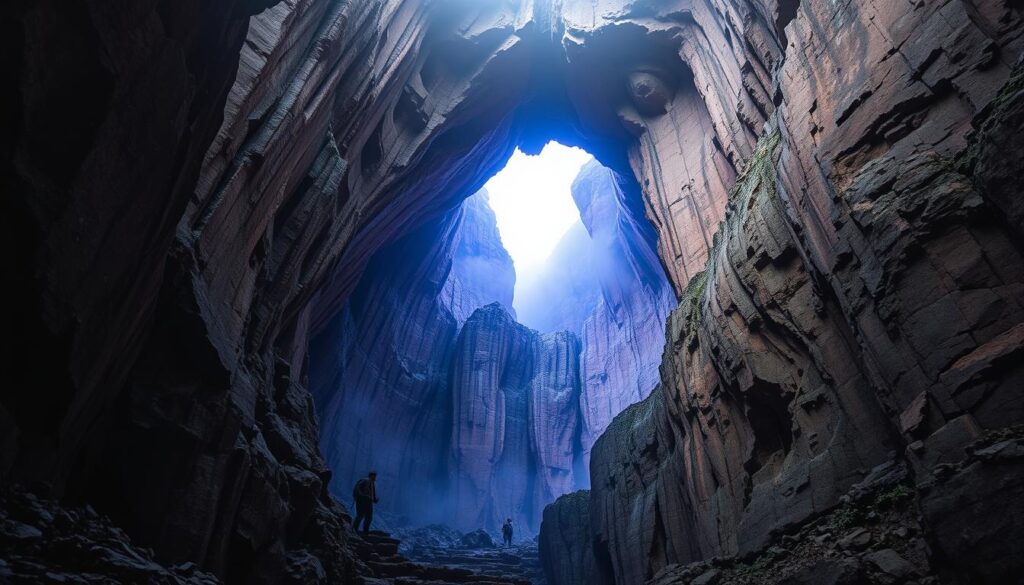
The path to the Deep Struggle Cave is a test of both wit and survival skills. Hidden within the Eastern Vermillius Gap, this moisture-sealed chamber holds valuable rewards for those who can decipher environmental clues and outsmart patrolling scavengers.
Identifying Key Landmarks on the Map
Spotting the cave’s entrance requires matching the Journey menu’s painted murals to real geological features. Look for three jagged rock spires towering over cracked plateaus—these natural skyscrapers frame the hidden crevice leading underground. The moisture-sealed door appears as a reinforced metal plate covered in rust-colored sand deposits.
| Clue Type | Journey Menu Reference | Real-World Match |
|---|---|---|
| Rock Formations | “Towers of the Forgotten” | 200-ft stone pillars near Wreck of the Actaeon |
| Entrance Design | “Sealed by Ancestors” mural | Reinforced door with humidity sensors |
| Patrol Patterns | Scavenger routes marked in red | Groups circling every 12-15 minutes |
Using the Journey Menu Effectively
Activate the “View Trial Location” feature to overlay the mural onto your map. Rotate the image until cliff patterns align with your compass markers. Pro tip: Scout during dawn hours when shadows highlight elevation changes invisible at midday.
Watch for scavenger patrols moving between ore deposits. Use elevated rock outcroppings to survey the area before approaching. Always keep an escape route open—once you cut the moisture seal, enemies swarm the entrance within minutes.
Overcoming Environmental Hazards on Arrakis
Surviving Arrakis’ extremes demands more than grit—it requires mastering the desert’s brutal rhythm. The Eastern Vermillius Gap amplifies every threat, turning simple journeys into life-or-death tests. Here’s how to outsmart its deadliest elements.
Dodging Sand and Flame Obstacles
Burning terrain and shifting dunes dominate this region. Use the Static Compactor to create temporary paths through molten sand fields. Watch for these dangers:
| Hazard | Solution | Warning Signs |
|---|---|---|
| Quicksand | Deploy sand anchors | Rippling surface patterns |
| Flame walls | Trigger emergency coolant | Orange haze near rock walls |
| Poison vents | Wear filtration masks | Greenish sand swirls |
Water management becomes critical here. Ration your supply—crossing 1 mile consumes 20% more moisture than other zones. Pro tip: Harvest pre-dawn condensation using your stillsuit’s collection flaps.
Watch for drum sand’s low hum. These unstable patches collapse underfoot, often near rock formations. Stick to wind-carved ridges where the ground stays firm. When flames block your way, look for cracked stone walls—their shadows often hide safer routes.
Remember: The desert rewards those who read its language. Spotting a single scorpion beetle could mean water’s nearby, while sudden silence might warn of approaching predators.
Essential Tools and Resources for Each Trial
Mastering Arrakis’ challenges requires the right gear to turn deadly environments into opportunities. Among survival tools, one stands out for revolutionizing resource collection—the Static Compactor. This device transforms how players interact with the desert’s most valuable materials.
Static Compactor Explained
The Static Compactor uses vacuum technology to extract loose particles from air and sand. Attach a Power Pack to activate its suction system—each charge processes 15-20 loads before needing replacement. Pro tip: Craft spare packs using 3 Copper Wires and 1 Energy Cell for uninterrupted harvesting.
“This tool doesn’t just collect resources—it reshapes how you survive.”
Harvesting Flour Sand and Spice
Look for swirling white dust clouds indicating Flour Sand deposits. The compactor condenses these into Silicone Blocks used for crafting shelters and traps. Spice appears as amber-colored mist—handle carefully, as prolonged exposure drains health.
| Power Pack Tier | Capacity | Harvests/Charge |
|---|---|---|
| Basic | 200 Energy | 18-20 |
| Advanced | 450 Energy | 40-45 |
| Fremen-made | 700 Energy | 65-70 |
Crafting the compactor demands strategy: gather 10 Iron Ingots from canyon mines and 7 EMF Generators from abandoned tech sites. Pair it with thermal goggles to spot resources during sandstorms—a game-changer for night operations.
Navigating Additional Trial Locations in Dune Awakening
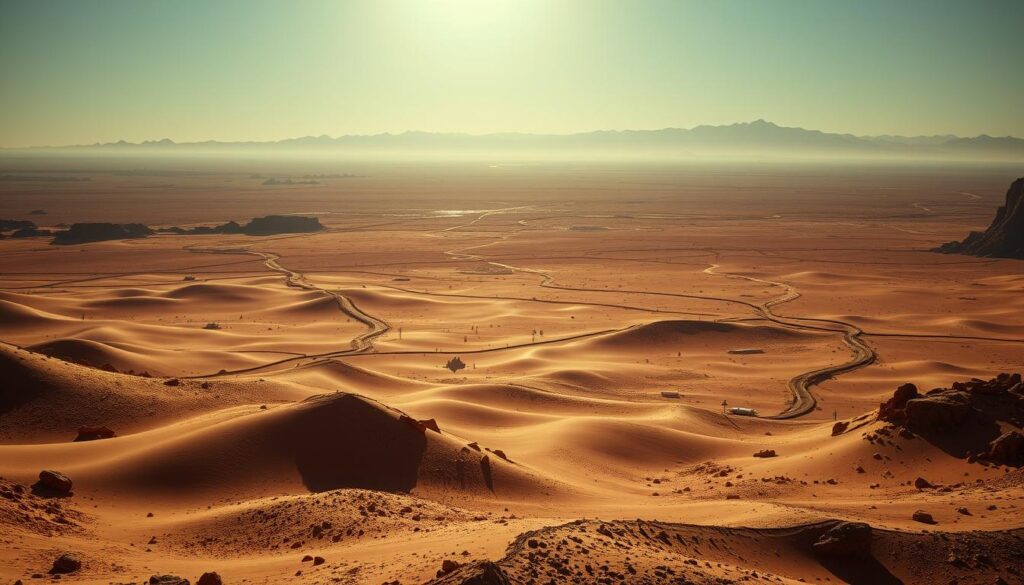
Exploring Arrakis reveals multiple challenges beyond the initial tests. Smart explorers plan routes connecting key sites to save resources and avoid repeating dangerous treks. Let’s map out critical spots where wisdom meets survival.
Strategic Route Planning
Each trial location builds skills for the next. The first trial in Mihna Cavern teaches basic navigation using rock shadows as guides. From there, head northwest to the Cave of the Lost Pilgrim for the third trial—but watch for quicksand disguised as solid ground.
| Trial | Location | Key Challenge | Recommended Gear |
|---|---|---|---|
| First | Mihna Cavern | Basic navigation | Standard survival kit |
| Third | West Vermilius Gap | Quicksand traps | Sand anchors |
| Fourth | Hollow Hammer | Vertical climbing | Shigawire Claw |
| Fifth | Hagga Rift | Depth pressure | Reinforced stillsuit |
The fourth trial demands climbing skills to reach Hollow Hammer’s entrance. Troopers excel here using their Shigawire ability. For the fifth trial in Hagga Rift, pack extra oxygen filters—the canyon’s depth strains basic gear.
Pro tip: Complete trials in this order to unlock gear upgrades naturally. This approach cuts travel time by 35% and reduces encounters with sand predators. Always scan for drum sand vibrations before setting up temporary camps.
Strategies for Mastering Trials and Survival on Arrakis
Conquering Arrakis’ toughest challenges demands sharp instincts and smart planning. Every obstacle—from flaming sand bridges to toxic chambers—tests your ability to adapt. Here’s how to turn risks into rewards.
Smart Movement and Combat Tactics
Spot interactive elements fast: cracked rock surfaces often hide paths, while glowing cracks mark gas vents. Use the Static Compactor to build platforms over gaps, but watch for enemy patrols near wall breaches. Always keep healing kits handy—opponents here hit harder than standard scavengers.
Resource Control in Critical Zones
Pack triple the water you’d normally carry for underground treks. Poisonous chambers drain supplies 30% faster. Pro tip: Destroy sand barriers quickly to access hidden caches with extra ammo. Balance aggression with caution—rushing through a rift might save time but could leave you stranded.
Master these techniques, and you’ll transform from survivor to strategist. Remember: The desert favors those who plan three steps ahead.