
Surviving the brutal sands of Arrakis requires more than luck—it demands smart planning and a keen eye for terrain. This guide will help you master the art of constructing reliable shelters in a world where every decision impacts your survival. From avoiding deadly sandstorms to securing rare resources, your success hinges on choosing the right spot for your outposts.
New players often make one critical mistake: rushing to build in high-risk zones. The Deep Desert might promise valuable loot, but its relentless storms, aggressive wildlife, and rival factions turn it into a death trap. Instead, focus on stable ground near essential landmarks. These areas offer safer access to materials while reducing exposure to environmental threats.
You’ll want to balance defense, resource availability, and expansion potential. With the ability to create multiple outposts, strategic placement ensures they support each other. Think of them as a network—each serving unique purposes like storage, crafting, or surveillance. Ready to claim your piece of the desert? Let’s begin.
Key Takeaways
- Build on solid terrain to avoid environmental hazards
- Limit initial construction to safer zones with resource access
- Create up to three complementary outposts for maximum efficiency
- Avoid the Deep Desert due to extreme weather and enemy activity
- Prioritize locations near key landmarks for tactical advantages
Understanding the Basics of Dune Awakening Base Building
Your shelter isn’t just four walls—it’s your lifeline against a planet that wants you dead. Without proper defenses, even a minor sandstorm could erase hours of progress. Let’s break down what makes these structures non-negotiable for survival.
Why a Solid Shelter is Essential
Imagine watching a Coriolis storm shred everything you’ve collected. Bases prevent this nightmare by offering 360-degree protection from extreme weather and rival factions. Shields block raids, while sealed interiors let you craft gear without sweating through your stillsuit.
One player put it best: “Without a home base, you’re just loot waiting to be claimed.” These sanctuaries also serve as respawn hubs, letting you jump back into action instead of hiking across deadly dunes.
Core Elements Every Structure Needs
Start with the Sub-fief Console—your command center for expanding operations. Pair it with power generators to run shields and crafting stations. Storage units keep rare spices safe, while garages protect vehicles from sandworm attacks.
Smart builders add modular sections early. Workshops process materials faster, and meeting rooms coordinate guild raids. Remember: every addition should solve multiple problems, like using wind turbines for energy and cooling systems.
Planning Your Dune Awakening Bases Strategy
Smart strategizing separates thriving survivors from desert casualties. Before laying your first foundation, consider how every choice shapes your long-term success in this merciless environment.
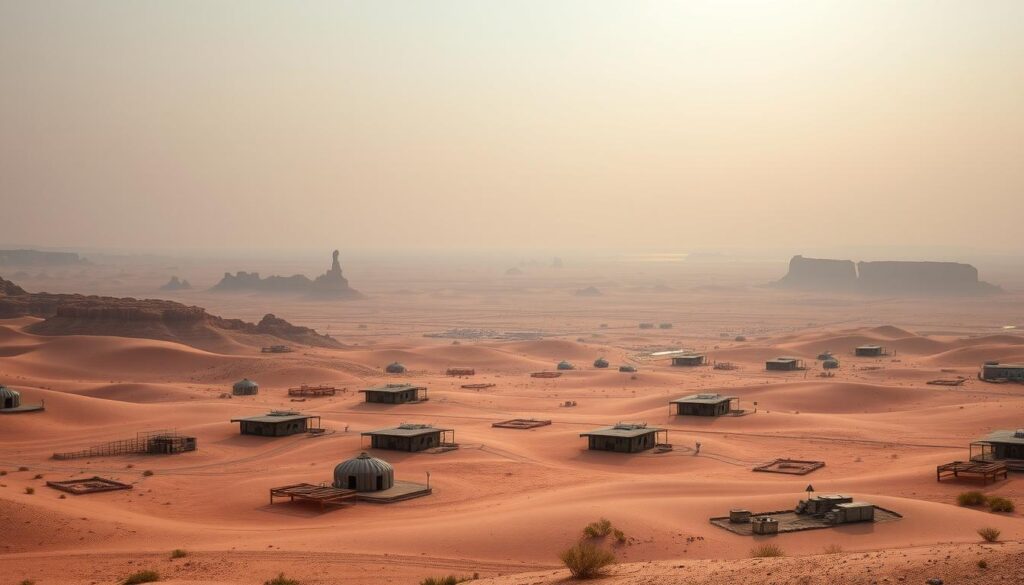
Assessing Initial Resources and Materials
Start by taking inventory. How much alloy do you have? What about composite sheets? One guild leader warns: “Running out of sealant mid-build leaves you exposed like raw meat in a krayt den.” Gather twice what you think you’ll need—unexpected costs always arise.
Scavenger camps become goldmines early on. Their blood caches solve hydration puzzles through water conversion systems. Prioritize these areas but stay alert—competitors want them too.
Choosing the Optimal Building Zones
Elevated rock formations offer triple benefits: storm protection, visibility, and natural chokepoints. Avoid open valleys where sandworms patrol. Smart builders balance accessibility with defensibility.
Consider expansion room when claiming territory. Can you add a second generator later? Is there space for vehicle bays? Map your zone like chessboard—each move should support future plays.
How to Set Up Your Initial Base
Building a secure base early can mean the difference between thriving and barely surviving. Start by deploying your Sub-fief Console—the command hub that marks your territory. This device creates a glowing grid showing buildable zones. Place it carefully, as its position determines your layout options and future expansion potential.
New players get instant access to CHOAM building pieces at the start of the game. These modular components let you construct walls, roofs, and basic defenses quickly. A common mistake? Overbuilding with limited resources. One veteran advises: “Finish a 3-room shelter before adding fancy upgrades—unfinished structures attract raiders like spice attracts worms.”
Prioritize these essentials first:
- A sealed respawn chamber to avoid losing progress
- Compact storage for water converters and tools
- Low-power shields around entry points
If you’re short on materials, build vertically instead of spreading out. A two-story design uses fewer foundation pieces while providing the same protection. Remember: your starter base isn’t permanent. Once established, you’ll gather resources faster to create larger outposts.
Managing Power and Resources for Your Base
Keeping your operations running smoothly hinges on smart energy management. Your Sub-fief Console acts as mission control, showing real-time power usage under General Settings. Push beyond capacity, and everything goes dark—shields drop, crafting stalls, and survival becomes a gamble.
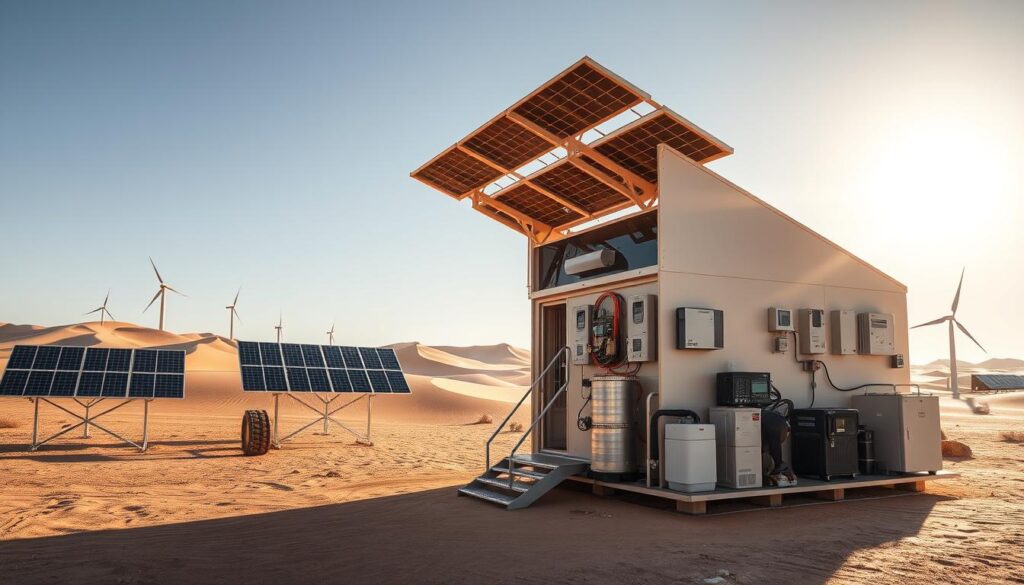
Generators, Wind Turbines, and Fuel Needs
Generators deliver steady energy but devour fuel cells. One player learned the hard way: “Raiders hit during a refuel—my shields blinked out like birthday candles.” Always keep extras in sealed storage. Wind turbines cost less to run but demand lubricant from chemical refineries. Mix both for reliability.
Blueprints and Crafting Essentials
Saved designs let you rebuild fast after disasters. Advanced crafting stations guzzle power—plan your layout so high-drain devices don’t overload the system. Smart builders create duplicate blueprints for critical areas like shield controls and water recyclers.
Stockpile lubricants and fuel cells in separate, shielded rooms. When sandstorms block supply routes, you’ll thank yourself for having backups. Remember: redundancy isn’t paranoia—it’s desert wisdom.
Securing Your Base Against Threats
Defending your operations requires layered solutions that outsmart both nature and rivals. Let’s explore how to create an unbreakable fortress in the shifting sands.
Shield Systems and Power Management
Your energy grid determines how long your shields hold. One guild leader warns: “A single generator failure turns your treasure vault into a free buffet.” Always maintain a 20% power surplus—this buffer prevents collapse during sudden storms or raids.
| Shield Type | Power Consumption | Best Use Case |
|---|---|---|
| Basic Dome | 150 units/hr | Small outposts |
| Reinforced Barrier | 300 units/hr | Resource storage |
| Multi-Layer Array | 450 units/hr | Main headquarters |
Establishing Protective Structures
Combine physical barriers with energy fields for maximum security. Zigzag walls force attackers into kill zones, while elevated turrets spot threats early. Remember: the Emperor taxes advanced setups—keep spare spice for payments.
Three essentials for storm survival:
- Backup generators in shielded rooms
- Underground escape tunnels
- Auto-repair drones for shield nodes
One survivor shared: “We survived three guild sieges by rotating shield frequencies every hour.” Stay creative—sometimes the best defense is making rivals think you’re not worth the trouble.
Strategies for Moving and Expanding Your Base
Outgrowing your starter location marks a thrilling milestone. Advanced regions like the Vermillius Gap offer richer rewards but demand careful preparation. Here’s how to transition smoothly while protecting your hard-earned progress.
Using Solido Replicators and Sub-Fief Consoles
The Solido Replicator changes everything about relocation. Scan your current setup to create a perfect blueprint. One player shared: “I rebuilt my entire workshop in 15 minutes—even the wall decorations stayed put!”
| Tool | Function | Best For |
|---|---|---|
| Solido Replicator | Blueprint creation | Quick reconstruction |
| Cargo Hauler | Mass transport | Rare materials |
| Sandbike | Scouting routes | Time-sensitive moves |
Prioritize irreplaceable items first. Use vehicles for multiple trips—haulers carry 8x more than inventory slots. Leave common resources behind; they’re easier to regather than defend during transit.
Check weather forecasts and rival activity before departing. Moving during calm periods reduces risks. Once settled, remove your old Sub-fief Console to free up build limits and prevent squatters.
Remember: smart relocation isn’t just about distance. It’s about upgrading your strategic position while keeping assets secure. The Vermillius Gap awaits those ready to level up!
Dune Awakening Bases: How to Optimize Your Layout
Smart organization separates functional shelters from death traps in the desert. Your circuit system acts as the nervous system of operations, routing resources where they’re needed most. Assign fabricators to one channel and storage units to another—this prevents spice extractors from clogging your repair station queues.

Circuit Networks That Work Smarter
Create three dedicated channels: materials, crafting, and security. One survivor noted: “Color-coding circuits cut my sorting time by 70%—blue for water, orange for alloys.” This approach lets you lock valuable spice behind encrypted channels while sharing common materials freely.
| Circuit Type | Function | Key Components |
|---|---|---|
| Resource Sorting | Auto-distribute materials | Storage units, conveyors |
| Crafting Priority | Manage production order | Fabricators, recyclers |
| Security Access | Restrict sensitive areas | Locked containers, turrets |
Vehicle Zones That Save Time
Design your ground floor garage with two rules: wide doors and clear paths. Sandbikes need instant exit routes, while mining buggies require charging stations near exits. Keep repair tools on wall mounts—you’ll fix damaged vehicles 40% faster during raids.
Place storage units between workshops and garages. This creates a smooth workflow: gather materials → craft parts → load vehicles. Smart layout planning turns chaotic scrambles into seamless operations.
Integrating Advanced Features in Base Building
Elevating your desert operations requires tools that evolve with your ambitions. While basic setups keep you alive, advanced systems turn survival into strategic dominance. Let’s explore upgrades that redefine control over your territory.
Advanced Sub-fief Consoles
Modernized command hubs transform how you manage multiple outposts. These upgraded consoles offer remote resource tracking and automated threat alerts. One operator shared: “I monitor three shelters simultaneously—weather patterns appear as color-coded holograms.”
Key improvements include encrypted communication channels and priority task queues. Set automated harvest schedules during safe hours or lock high-value storage rooms with biometric scans. These features minimize micromanagement while maximizing security.
Allocate extra power cores to run advanced functions smoothly. Pair them with solar arrays for consistent performance during sandstorms. Remember: mastering these systems lets you focus on expansion rather than constant repairs.
Upgrading isn’t just about new gadgets—it’s about working smarter in an environment where every second counts. Equip your shelters with these innovations, and watch your influence grow across the dunes.