
Ready to unlock the full potential of your high-tier gear in Dune: Awakening? This resource stands as the backbone for crafting advanced tools, vehicle components, and schematics critical for constructing your first Ornithopter. Unlike common materials like Iron or Carbon, acquiring this precious material demands strategy, preparation, and insider knowledge.
This guide isn’t just about gathering resources—it’s about mastering a system. Whether you’re playing solo or coordinating with a team, you’ll learn how to locate high-yield zones efficiently and optimize your setup for maximum output. We’ve tested these methods across diverse scenarios to ensure they adapt to your playstyle and progression level.
By following our step-by-step strategies, you’ll bypass common bottlenecks and establish a self-sustaining operation. No more scrambling for last-minute materials or stalling your base upgrades. Let’s dive into the techniques that will keep your crafting stations busy and your inventory stocked.
Key Takeaways
- Essential for crafting Tier 4 gear and Ornithopter schematics
- Requires advanced tools and strategic planning to harvest
- Locations vary in accessibility and yield rates
- Optimized setups boost efficiency for solo and group play
- Tested methods adapt to different playstyles
Introduction to Aluminum Farming in Dune Awakening
Every seasoned player knows advanced crafting starts with one crucial element. In Dune: Awakening, this silvery metal fuels your leap from basic survival to technological dominance. Without it, you’ll watch others soar in custom Ornithopters while you’re stuck patching low-tier gear.
Understanding Aluminum’s Role in Advanced Crafting
This material isn’t just another inventory filler. It’s the backbone of Tier 4 fabrication – think reinforced armor plating and precision vehicle components. Need that first flying machine? Aluminum forms 60% of its schematic requirements.
Scarcity drives value here. While iron nodes litter starter zones, high-grade deposits hide in treacherous regions. You’ll need upgraded tools and smart base placements to access them reliably.
Overview of Farming Requirements and Challenges
Gathering this resource isn’t about luck. It demands thermal-resistant gear, coordinated team movements, and real-time threat management. Sandstorms and rival players turn simple mining runs into tactical operations.
New players often hit walls here. But with proper planning, what feels impossible becomes routine. Later sections break down exactly how to transform struggles into streamlined processes.
Essential Equipment and Base Setup for Efficient Farming
Mastering aluminum extraction requires more than luck—it’s about preparation. Your toolkit and base configuration determine whether you’ll spend hours struggling or minutes thriving. Let’s break down the non-negotiables for smooth operations.

Key Equipment: Buggy, Cutterray, and Suspensor Belt
Your buggy does double duty as transport and mobile workstation. Unlike standard vehicles, it carries built-in cutterray mounts for rapid node harvesting. Pair it with a Mk3 Power Pack to avoid energy shortages mid-mining.
Upgrading to a Cutterray Mk4 boosts yield by 150% per node. The Suspensor Belt lets you scale cliffs and access hidden deposits others miss. Together, this setup turns rugged terrain into your personal playground.
Building an Effective Base and On-Site Refinery
Claim the Western Vermillius Gap for quick access to prime nodes. Install a Medium Ore Refinery to process raw ore into aluminum ingots onsite. Big Containers keep your storage organized and ready for bulk hauls.
| Equipment | Mk3 Version | Mk4 Upgrade |
|---|---|---|
| Cutterray Yield | 40 units/node | 100+ units/node |
| Power Consumption | High | Optimized |
| Processing Speed | Standard | 25% Faster |
This strategic base placement cuts travel time by 60% compared to remote outposts. Keep your buggy fueled and containers empty—you’ll need the space for back-to-back mining runs.
Identifying Prime Locations: Where to Farm Aluminum Dune Awakening
Strategic positioning separates casual gatherers from elite crafters. While multiple zones contain deposits, only a few deliver game-changing quantities. Let’s map out Arrakis’ most lucrative grounds.
Eastern Shield Wall – The Ultimate Hotspot
The Eastern Shield Wall dominates with 8-12 nodes per square kilometer. Valleys here burst with metallic veins – each node drops 100+ units when harvested with Mk4 tools. Flat terrain lets buggies roam freely, creating perfect loop routes for continuous mining.
Navigate northwest from Vermillius Gap until spotting the Crossroads Trade Post ravine. This landmark marks your golden ticket. Teams report 2,400-unit hauls in 90-minute sessions here.
Alternative Zones Worth Exploring
Jabal Eifrit’s spires hold smaller clusters – ideal for quick solo runs. Western Shield Wall offers decent yields but demands advanced climbing gear. Compare key features:
| Location | Node Density | Access Difficulty |
|---|---|---|
| Eastern Shield | High | Low |
| Western Shield | Medium | High |
| Jabal Eifrit | Low | Medium |
While other areas work in a pinch, the shield wall region remains unmatched. Prioritize securing this location before competitors claim it.
Step-by-Step Aluminum Mining and Processing Techniques
Transforming raw materials into craftable assets requires precision execution. Let’s break down the mechanics that separate productive operations from wasted efforts.
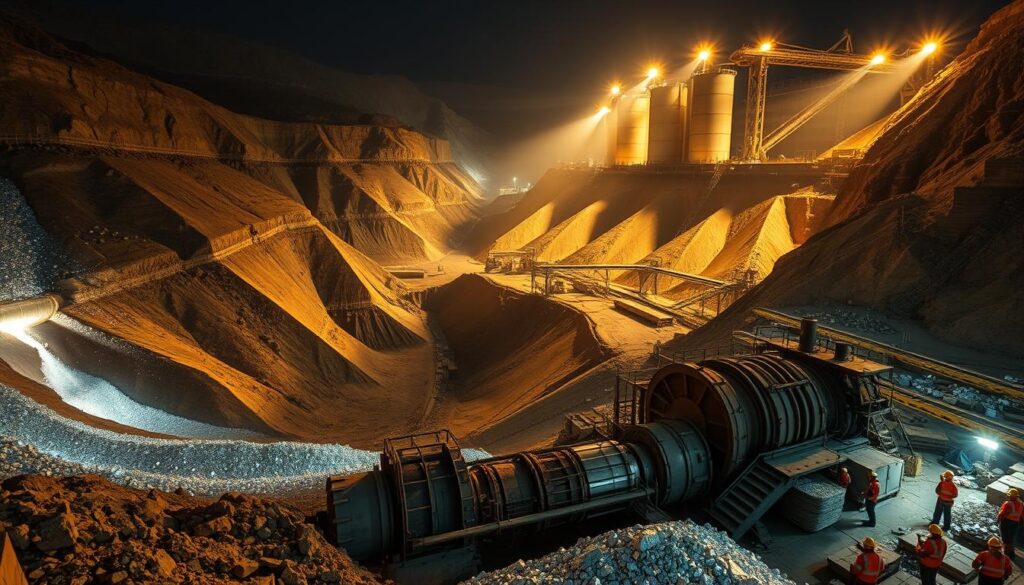
Mastering Extraction Mechanics
Position your buggy at a 45-degree angle to nodes for optimal cutterray access. Mk3 tools yield 40 units per node – enough for starters, but upgrade quickly. Teams using dual operators report 300% faster collection rates than solo players.
Switch between seats using the hold-action key like a rhythm game. Top miners complete seat transitions in under 1.2 seconds. “The real skill isn’t mining – it’s maintaining momentum between nodes,” says veteran player Marco Reyes.
| Tool Tier | Units/Node | Processing Speed |
|---|---|---|
| Mk3 Cutterray | 40 | Standard |
| Mk4 Cutterray | 175 | 2.5x Faster |
Refining Your Raw Materials
Seven units of ore plus 200 water create one ingot. This ratio makes water management critical – build multiple windtraps near refineries. Process materials onsite to slash transport weight by 83%.
Smart players pre-craft ingots during sandstorm downtime. Keep your refinery humming 24/7 by aligning mining routes with respawn timers. Nodes regenerate predictably – map your loops accordingly.
Remember: Unprocessed ore attracts raiders. Convert materials immediately after collection to protect your haul. This practice also clears inventory space for continuous operations.
Pro Tips for Maximizing Your Aluminum Haul
Smart preparation separates productive miners from frustrated scavengers. Whether working alone or with allies, these battle-tested methods will supercharge your operations.
Always pack 30% more fuel than your buggy’s tank holds. Veteran players keep emergency canisters in their personal inventory – stranded miners become easy targets. Scan terrain constantly while moving; this helps plot efficient loops that connect multiple nodes in one run.
Solo Versus Team Farming Strategies
Solo operators should refine materials immediately. Processed ingots weigh 75% less than raw ore, letting you gather longer without frequent base trips. Use your buggy’s storage for bulk hauling and personal slots for overflow.
Teams excel at establishing supply chains. Assign one member to fly an ornithopter, airlifting ingots to base while others keep mining. This setup maintains non-stop operations – no downtime for deliveries.
Night runs require careful planning. New players should stick to daylight hours, but experienced crews can use headlights to spot resource clusters. Just watch your power levels – darkness drains batteries faster.
Conclusion
Mastering this essential process transforms tedious scavenging into a rewarding system. Follow this guide’s methods, and you’ll convert Arrakis’ harsh landscape into a personal treasure trove. Proper base placement and tool upgrades make all the difference between frustration and abundance.
Focus on high-yield zones like the Eastern Shield Wall for maximum returns. Keep storage solutions optimized to handle bulk hauls without frequent trips. With your setup dialed in, what once took hours now flows smoothly.
Remember: efficiency compounds over time. Each refined ingot brings you closer to advanced schematics and aerial dominance. Now that you’re equipped with proven strategies, the desert’s riches await your command. Go claim them.